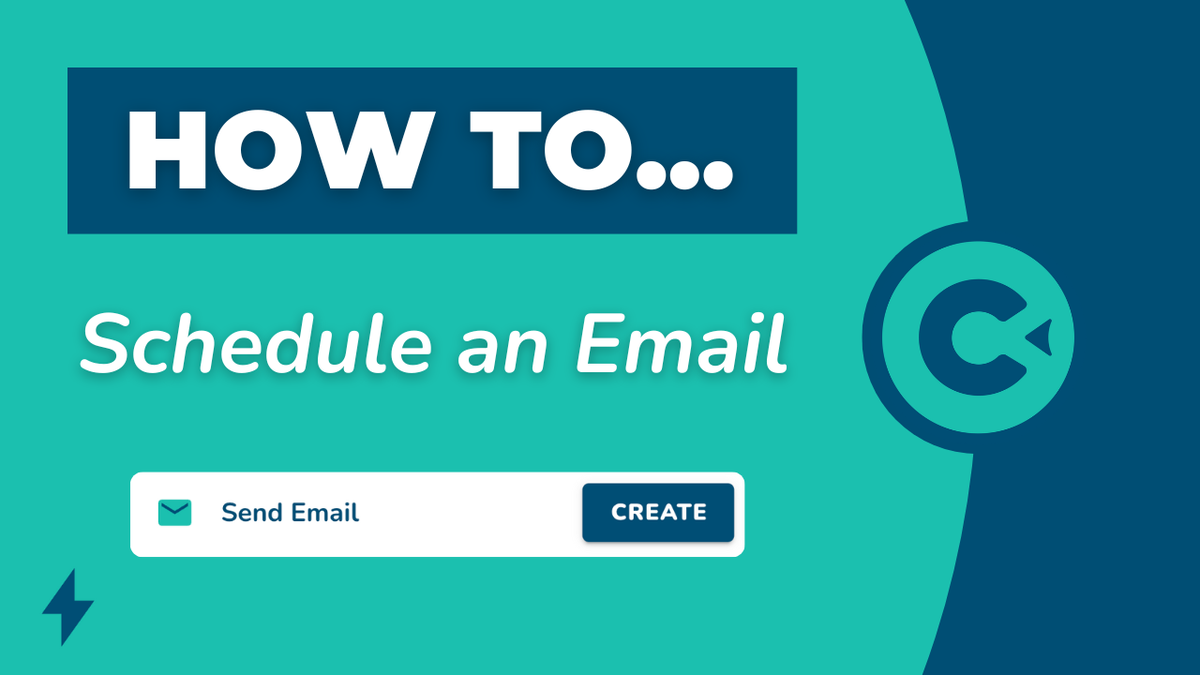
How to Schedule an Email
This walkthrough answers the questions: How do I schedule an email to contacts? How do I automate an email? Where do I go to create an email automation?
Step-by-Step Walkthrough
Navigate to Automations the automations page
Select New Automation in the top right corner of the page.
Select the Create button on the "Send Email" card.
(Optional) If you want to learn how this works, select the question mark next to "Send Email" and watch the video.
Select a group (e.g., "no one" if you don’t want the email to go out).
Set your automation start time.
Scroll down and pick how the automation will run.
Fill in the subject line and the body (these are required).
Once you’ve added that information, select Review in the top right corner.
You’ll see a list of your people underneath Contacts Affected and be able to review your email in the center of the page.
Once everything looks good, select Launch in the top right corner.
You’ll see any automation you have on the Automations page.
More in Quick How To's
Quick How To's
How to Add a Single Contact
This step-by-step walkthrough answers the questions: "How do I add a contact?", "How do I add a single contact?", and "How do I add one contact?"
Quick How To's
How to Import Contacts
This step-by-step walkthrough answers the questions: "How do I import a list of contacts?", and "How do I add multiple contacts at once?"
Quick How To's
How to Update Contacts
This step-by-step walkthrough answers the questions: "How do I update a contact?", "How do I change a contact's status?", and "How do I edit a contact's information?"
Quick How To's
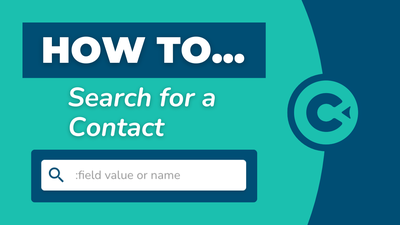
How to Search for Contacts
This step-by-step walkthrough answers the questions: "How do I find a contact?", "How do I contacts?", and "Is there a way to search for people?"