How to Create Contact Boards
This step-by-step walkthrough answers the questions: "How to create a board?", "How do I use boards?" and "How do I set up boards?"
Step-by-Step Walkthrough
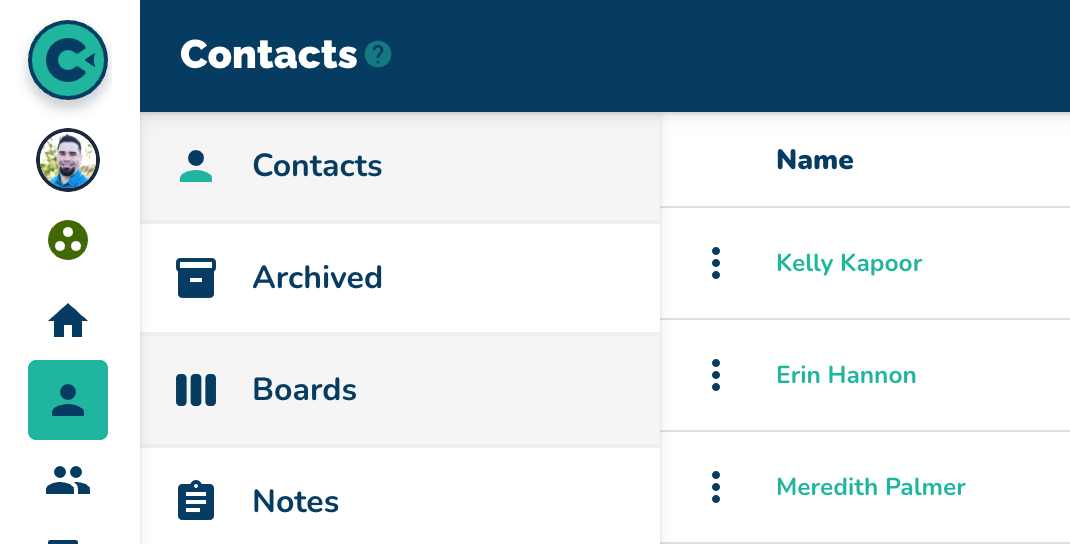
Navigate to the "Contacts" page.
Click "More"
Click "Boards"
Check for the presence of a "Board" under "View By".
If boards are not present, navigate to "Settings."
Click on "Fields."
Select any text field (example: "Status").
Confirm the field type is text and that dropdown values can be added.
Add a list of values (example: "Started", "In Progress", "Hired")
Update the list of dropdown values.
Refresh the browser.
Return to the "Contacts" page.
Observe that Boards are now present.
Navigating Boards
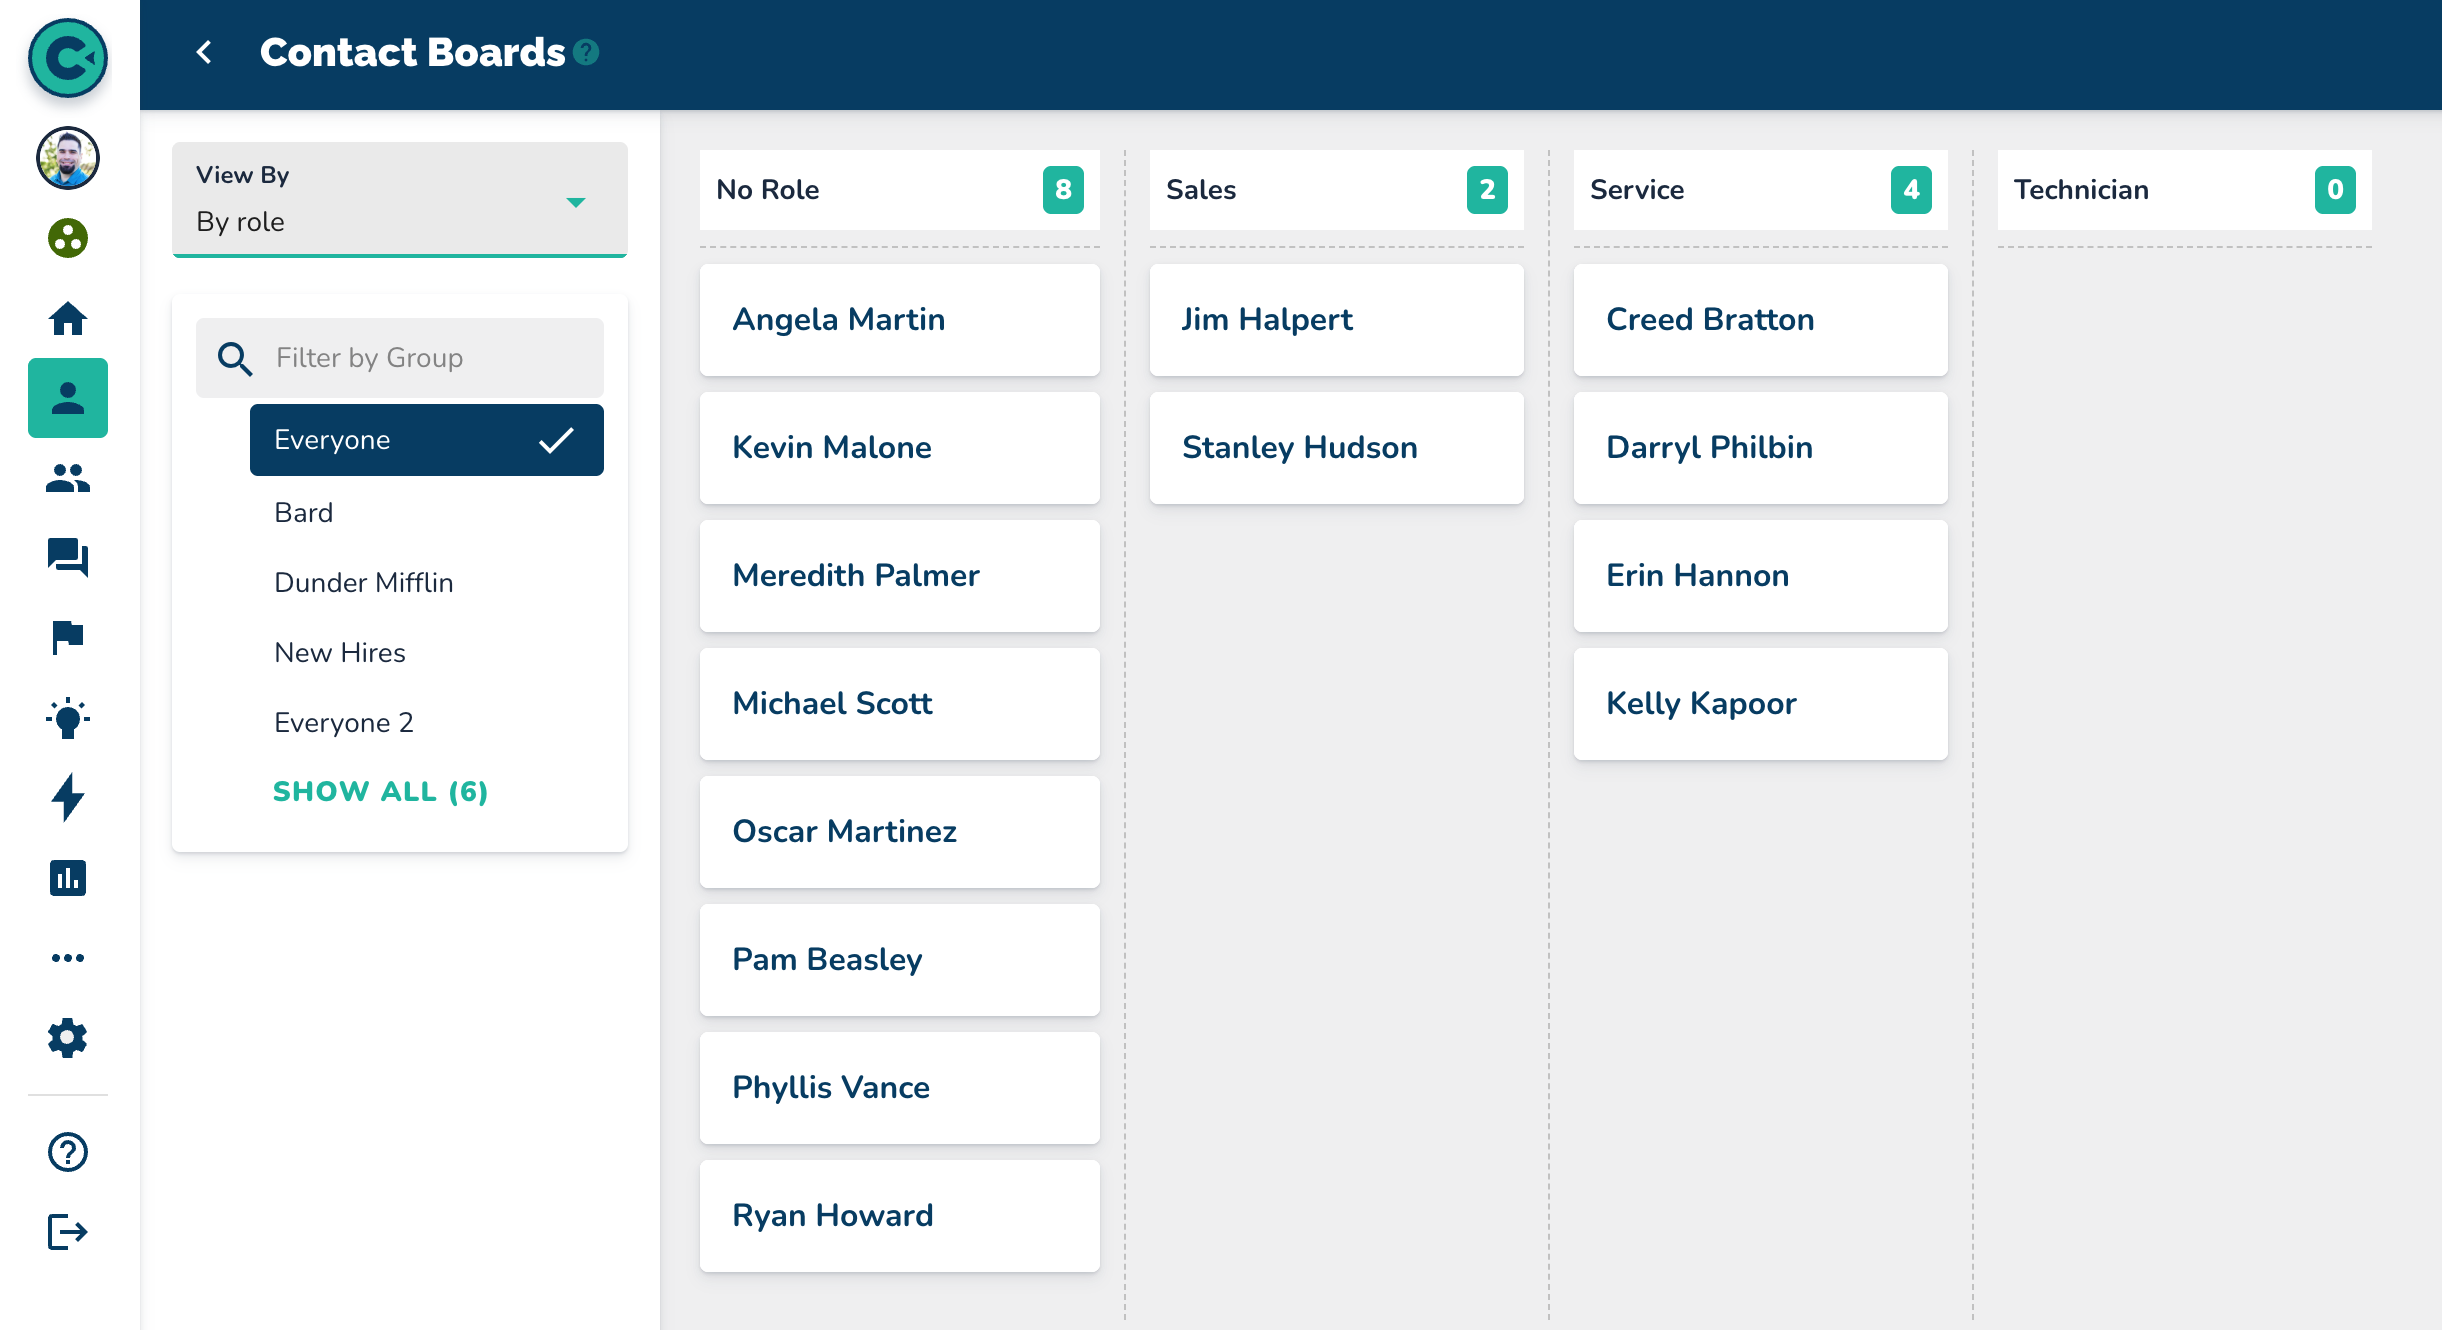
Click on the "Board" section.
Note that it shows "View By" in the top left corner, currently set to the field you updated (we updated "Status" in this example)
Locate the "Filter by Group" option beneath "View By."
Click on the specific group (example: "Parks and Rec").
Confirm that only contacts from the selected group are displayed.
You can create other boards by adding a dropdown to another text field.
More in Quick How To's
Quick How To's
How to Add a Single Contact
This step-by-step walkthrough answers the questions: "How do I add a contact?", "How do I add a single contact?", and "How do I add one contact?"
Quick How To's
How to Import Contacts
This step-by-step walkthrough answers the questions: "How do I import a list of contacts?", and "How do I add multiple contacts at once?"
Quick How To's
How to Update Contacts
This step-by-step walkthrough answers the questions: "How do I update a contact?", "How do I change a contact's status?", and "How do I edit a contact's information?"
Quick How To's
How to Search for Contacts
This step-by-step walkthrough answers the questions: "How do I find a contact?", "How do I contacts?", and "Is there a way to search for people?"