Testing Your Course or Campaign
How to test your campaign within ConveYour and from the End-User perspective

Ready to Launch? Let's Test It Out First!
Before launching, it's essential to test the course from the learner’s perspective to ensure everything runs smoothly.
Testing ConveYour Content
You may have already conducted simple tests while building your campaign, but a full learner test is recommended before launch.
Test Individual Lessons
Click the TEST button in the top right of the lesson builder to preview how the lesson will appear to learners.

Note: Previewing Lesson content in this way will not show the full Learner Portal.
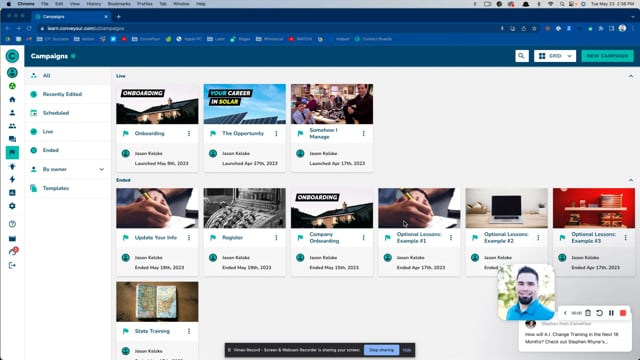
Test Content in a Campaign
You don’t need to complete all campaign elements to create a basic test version of your campaign.
Navigate to Main Menu > Campaigns, select your campaign, and click the TEST button (top right) to preview content.
Use the device simulator to check how content appears on Mobile, Tablet, and Desktop screens.

Ready to Launch?
Before sending out your course, review ConveYour's Pre-Launch Checklist to ensure everything is set up correctly.
Testing From the User's Point of View Using Invite Tools
Ideally, you need to experience this campaign from the learner's perspective. This is where the invite tools can come in really handy.
Testing From the Learner’s Perspective
Option 1: Use a Landing Page
Navigate to Main Menu > Campaigns > Campaign Builder > Invite Tools.
Scroll down to Review and copy the landing page URL.
Sign yourself up as a learner and go through your campaign experience.

Option 2: Use Text-To-Join
Navigate to Main Menu > Campaigns > Campaign Builder > Invite Tools.
Add a hashtag under Sign Up Hash Tag.
Text the hashtag to your unique ConveYour number.
Ensure you receive a confirmation message with a link to your learner portal.

Email Testing
If your audience primarily accesses the course via email, test the email-only experience.
Sign Up Without a Mobile Number
Set up your campaign landing page to not require a mobile number for signup.
Follow the landing page sign-up method above, but omit a mobile number.
Check your email inbox for a link to the learner portal.
Check your spam folder for confirmation emails.
If emails frequently land in spam:
Verify your email address as a sender.
Add DKIM/SPF records for better email authentication.
Contact technical support for assistance.
More in Campaigns
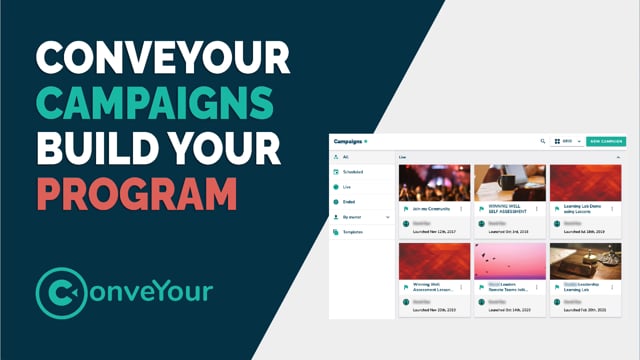
Campaigns
Campaigns Introduction and Overview
Introduction to Campaigns in ConveYour, what they are, how they are used
Campaigns
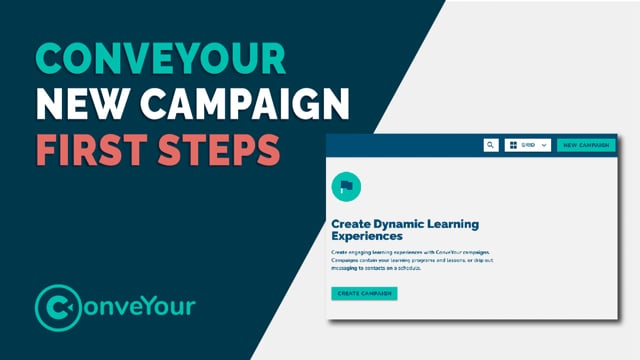
First Steps
Getting started with campaign setup in ConveYour

Campaigns
Campaigns: Can Late Joiners Catch Up?
How to release or schedule content so late joiners can "catch up" on content.
Campaigns
The Hashtag Method: Enabling Quick Sign-Ups via SMS
How to sign up for a ConveYour campaign using the hashtag method.