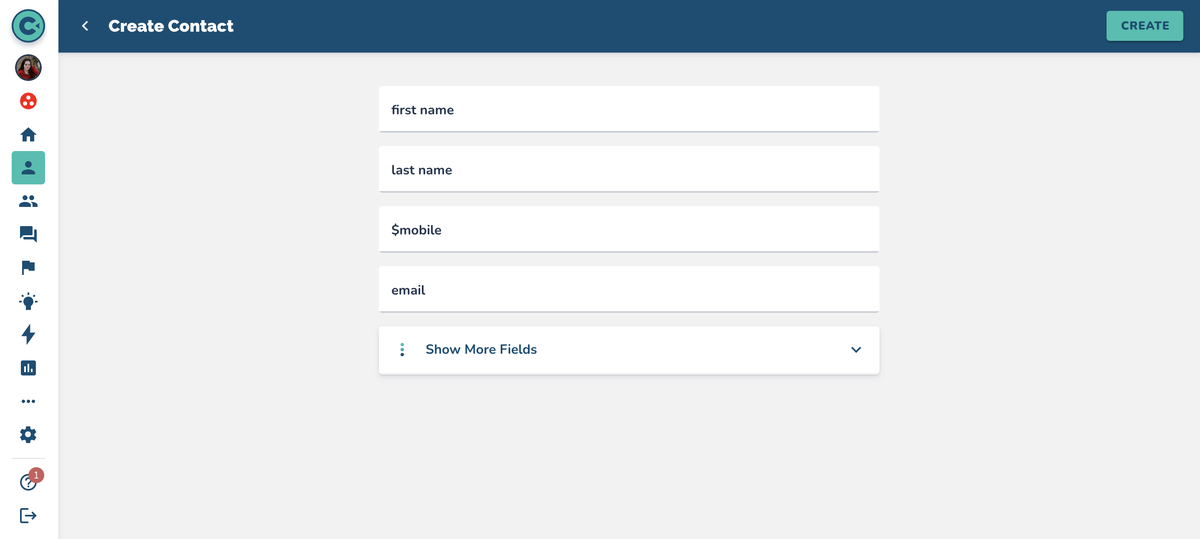
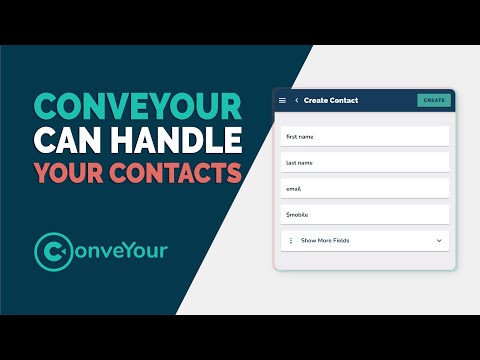
Sometimes, you need to quickly add an individual contact to your growing database in ConveYour. This is especially useful for latecomers you need to enroll in a course, or when you meet someone new and want to initiate a conversation.
Minimum Contact Information
To add a contact, we recommend including these key fields as a minimum:
First Name
Last Name
Mobile Device Number
Email
Each "field" corresponds with data types you might already have in your contact management system.
If you need additional fields, click Show More Fields to access more options provided by ConveYour. If a required field isn’t available, you can create custom fields to better organize your contacts.
 Learn more about adding custom fields here >>
Alerts
The Alerts field lets you set a contact's preferred communication method (SMS or Email). Alerts are notifications sent to contacts when they receive new messages in the system.
If the contact does not have a mobile number, or if their ability to use SMS is restricted, select Email as the preference.
Saving & Creating Your New Contact
Once you’ve added the necessary information, click Create in the top-right corner to save the contact.
Working With Contacts
From the Master List of contacts, click a contact's name to open their Contact Details Page. Here, you can:
Add notes to the contact (notepad icon).
Create tasks for the contact (checkmark icon).
Message the contact via email or text.
Review all conversations with the contact.
Access the contact's portal to see their interface.
Block incoming messages while keeping their information in the master list.
Delete the contact, removing them from the master list entirely.
Archive the contact, removing them from the master list and storing the profile in an archived file for future reference.

Activity Feed
The Activity Feed on the Contact Details Page shows all interactions between the contact and your campaigns, such as:
Joining a campaign.
Answering questions.
Recording stats.
Scroll through the contact's activity feed and toggle activity details by clicking on the arrow next to the listed activity.

Tags and Groups
To help you sort your contacts further, you have the ability to Tag them. Tags are organizational tools to categorize and sort your contacts. Tags can be short descriptors or more detailed identifiers.
Examples:
Hire Date: 052222 or may2022.
Sales Funnel Stages: cold, warm, nurture, received-brochure.
Event-Based: Atlanta-AIGA, SanDiego-IMBA.
Location-Based: New-Haven, Denver.
Tags allow you to:
Create a Group of contacts by shared attributes for messaging or campaign enrollment.
Pre-sort new contacts into existing groups upon creation.
Use tags to pre-sort your new contacts as they come in using Tag Groups >>
Viewing and Editing Tags
To view or edit a contact’s tags:
Click View/Edit Tags on the Contact Details Page.
Search for an existing tag or create a new one.
If creating a new tag, type it in, click Add, and then Save to save the changes.
 Learn more about Groups here >>
Add Contact to a Campaign
To manually add a contact to a campaign:
Navigate to the Campaign Menu and click Contacts.
Select Add Contacts Manually.
Type the contact’s name in the search field and select it.
Confirm the selection and click Add 1 at the bottom-right corner. You can do this for multiple contacts at a time as well.
Remove a Contact from a Course/Campaign
To remove a contact:
Go to the Campaign Menu > Contacts.
Search for the contact in the Course/Campaign.
Use the context menu next to their name and click Remove to unenroll them from the campaign. This action retains the contact in your master list.
 Delete Or Archive a Contact from the Master List
To permanently delete a contact:
Open the Contact Details Page.
Click the Delete option in the context menu or Archive.
Use with caution! This action will delete the contact from the master list and all Campaigns/Courses in which they are participating. Archiving contacts will remove contacts from campaigns as well as move them from the master list to the archived contact list.
 Creating a New Data Field
If an essential field (e.g., team name, division, or region) is missing, you can create a custom field in settings. Custom fields make it easier to categorize and manage your contacts effectively.
Learn more about adding custom fields here >>
Learn More
More in Contacts
Contacts
An Overview of Contacts
Introduction to working with contacts in ConveYour
Contacts
Uploading or Importing Your Contact List
Quickly and easily import your contacts into ConveYour
Contacts
Automatic Group Creation on Upload
ConveYour automatically tags and creates a group when you upload a database list of contacts
Contacts
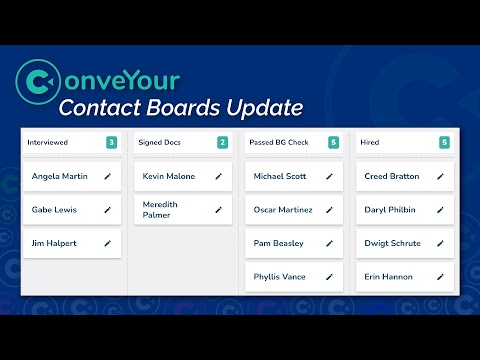
Boards
Tracking process or activities for contacts using ConveYour Contact Boards