ConveYour’s contact fields system allows you to organize and manage contact data in a way that fits your workflow. With contact fields, you can categorize, filter, and target contacts based on specific attributes.
What You Can Do with Contact Fields
With ConveYour’s contact fields system, you can:
Create contact fields with different data types, such as text, number, true/false, and date.
Control visibility—choose where the field appears (contact sheet, profile, or both).
Set user permissions—determine who can edit or view a field.
Use dropdown lists to create predefined values for easy data entry.
Creating a Contact Field
Navigate to Main Menu > Settings > Fields.
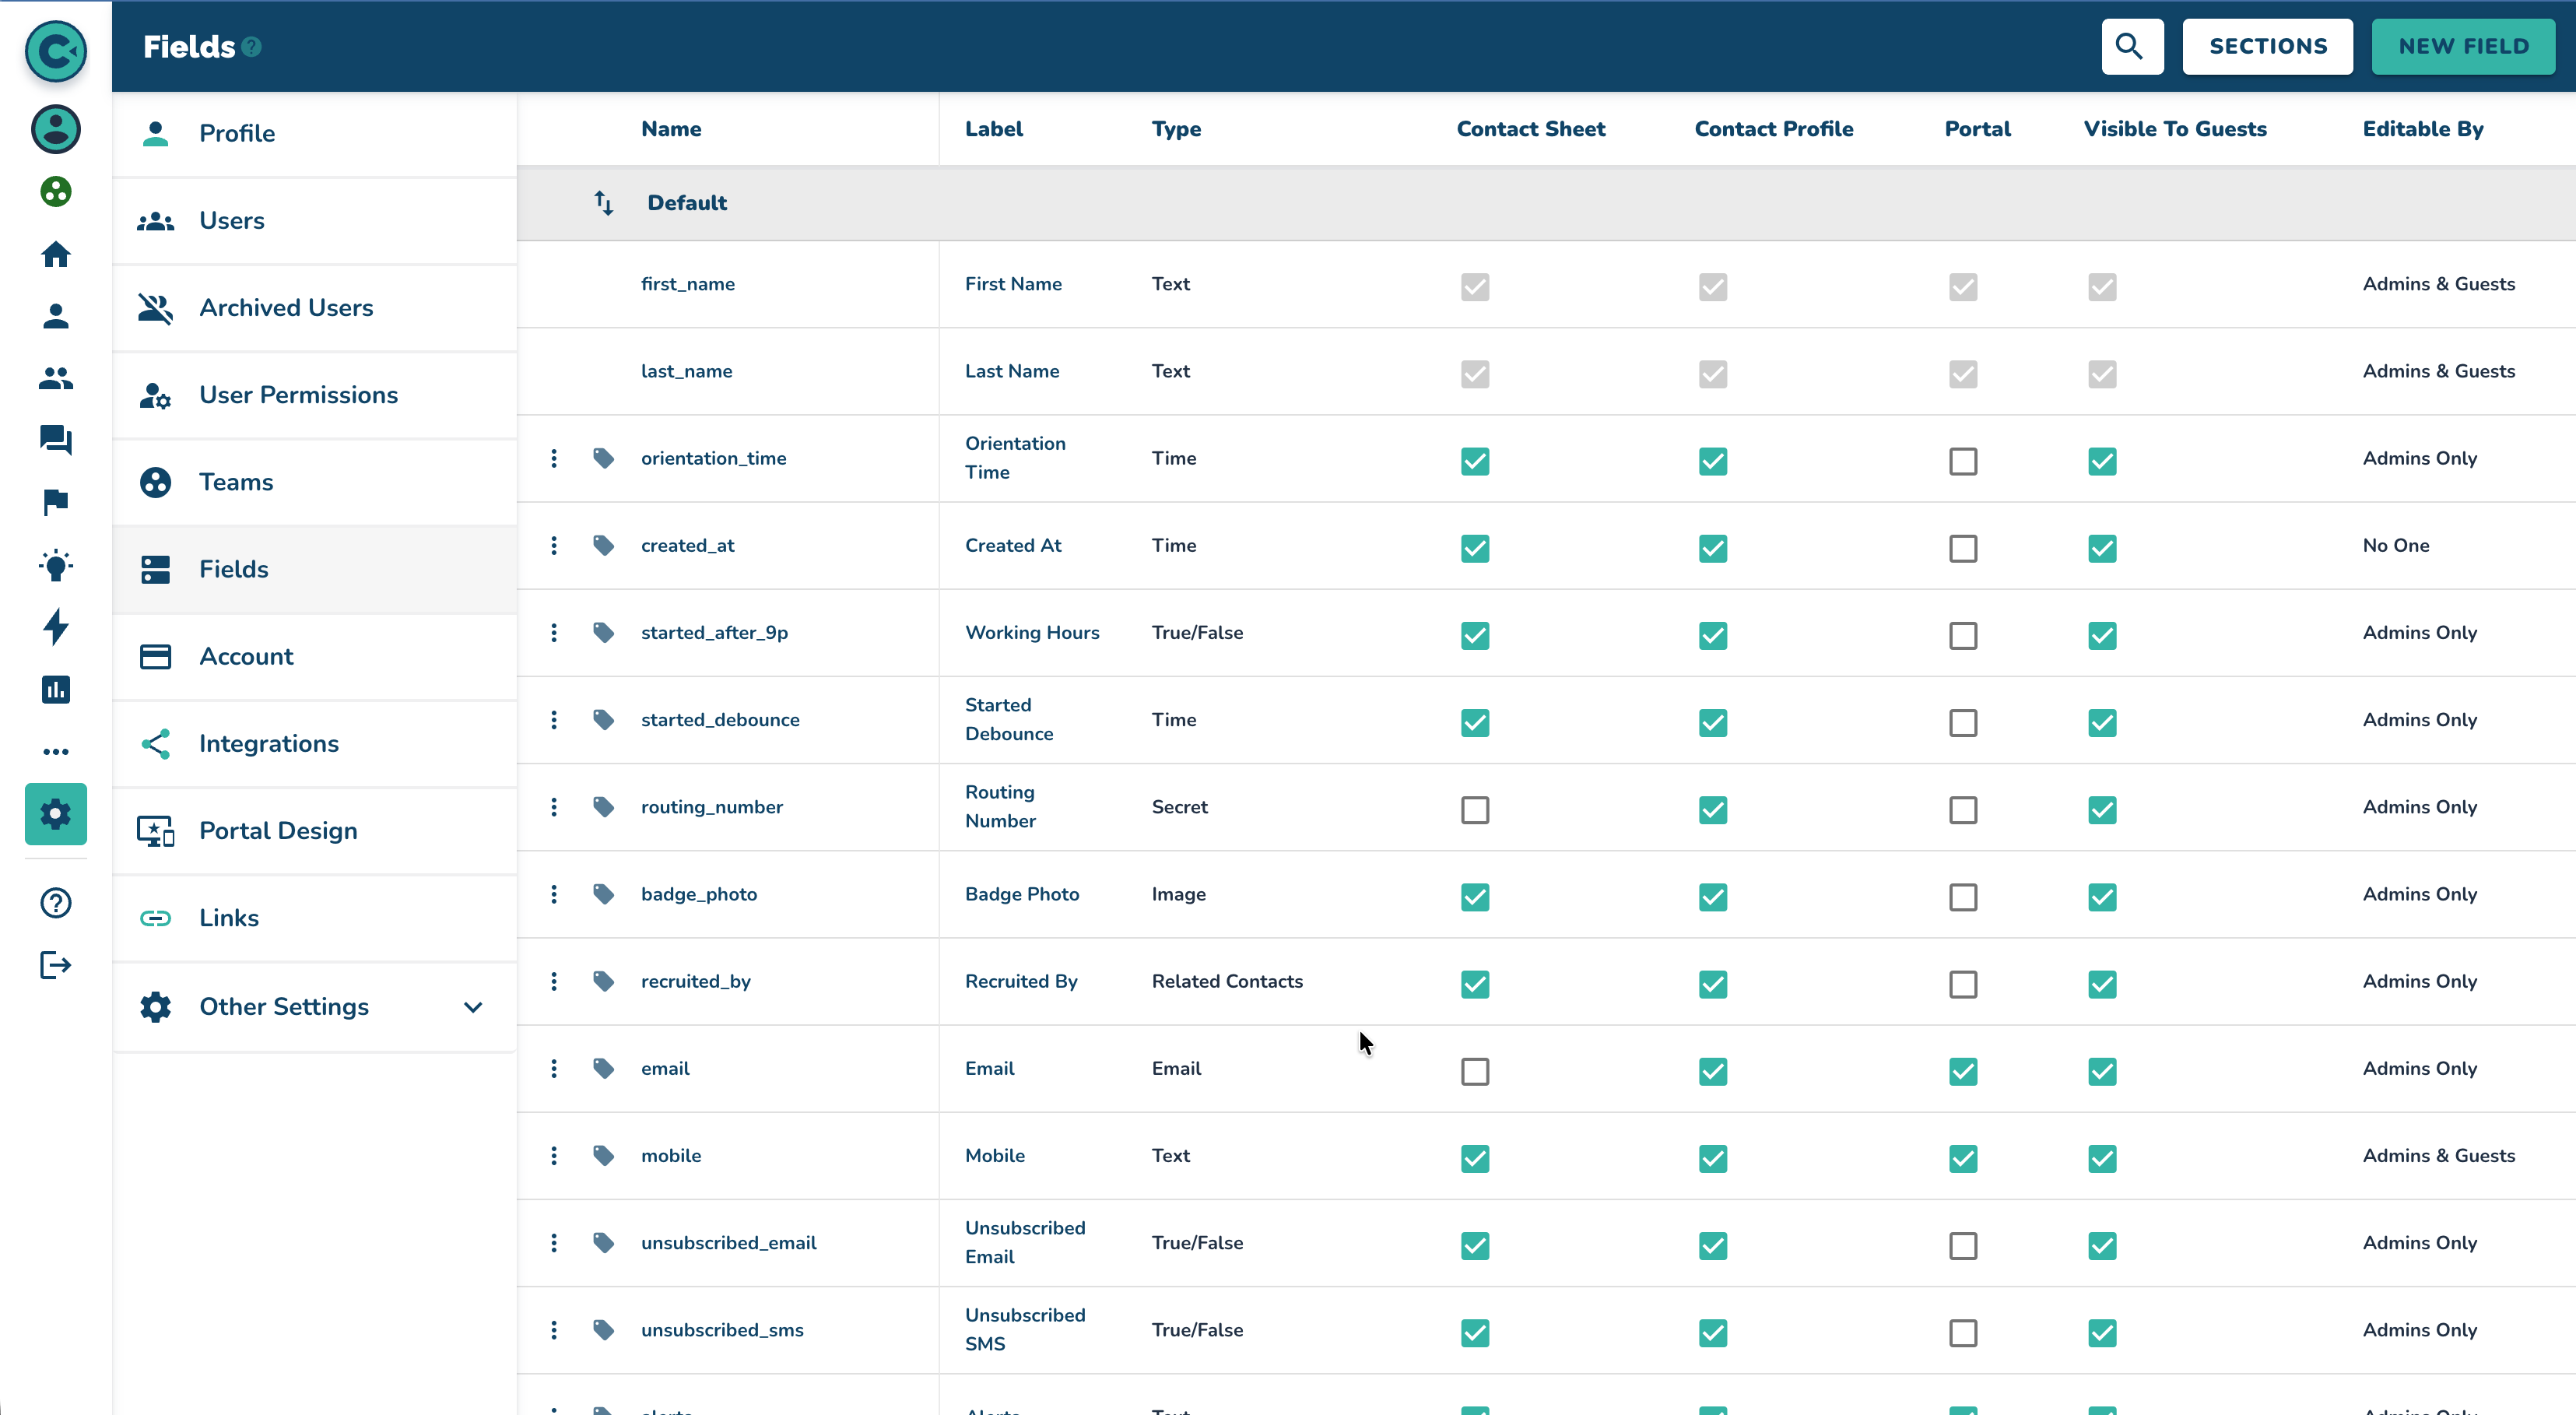
Click the "New Field" button in the top right corner to add a new field.
Configure your fields and click Create.
Example Use Case:
A Recruiter wants to categorize contacts by event location. They add a contact field called Recruiting City so their team members can enter the city during sign-up. Later, they can send targeted follow-ups based on location.
Contact Field Setup & Configuration
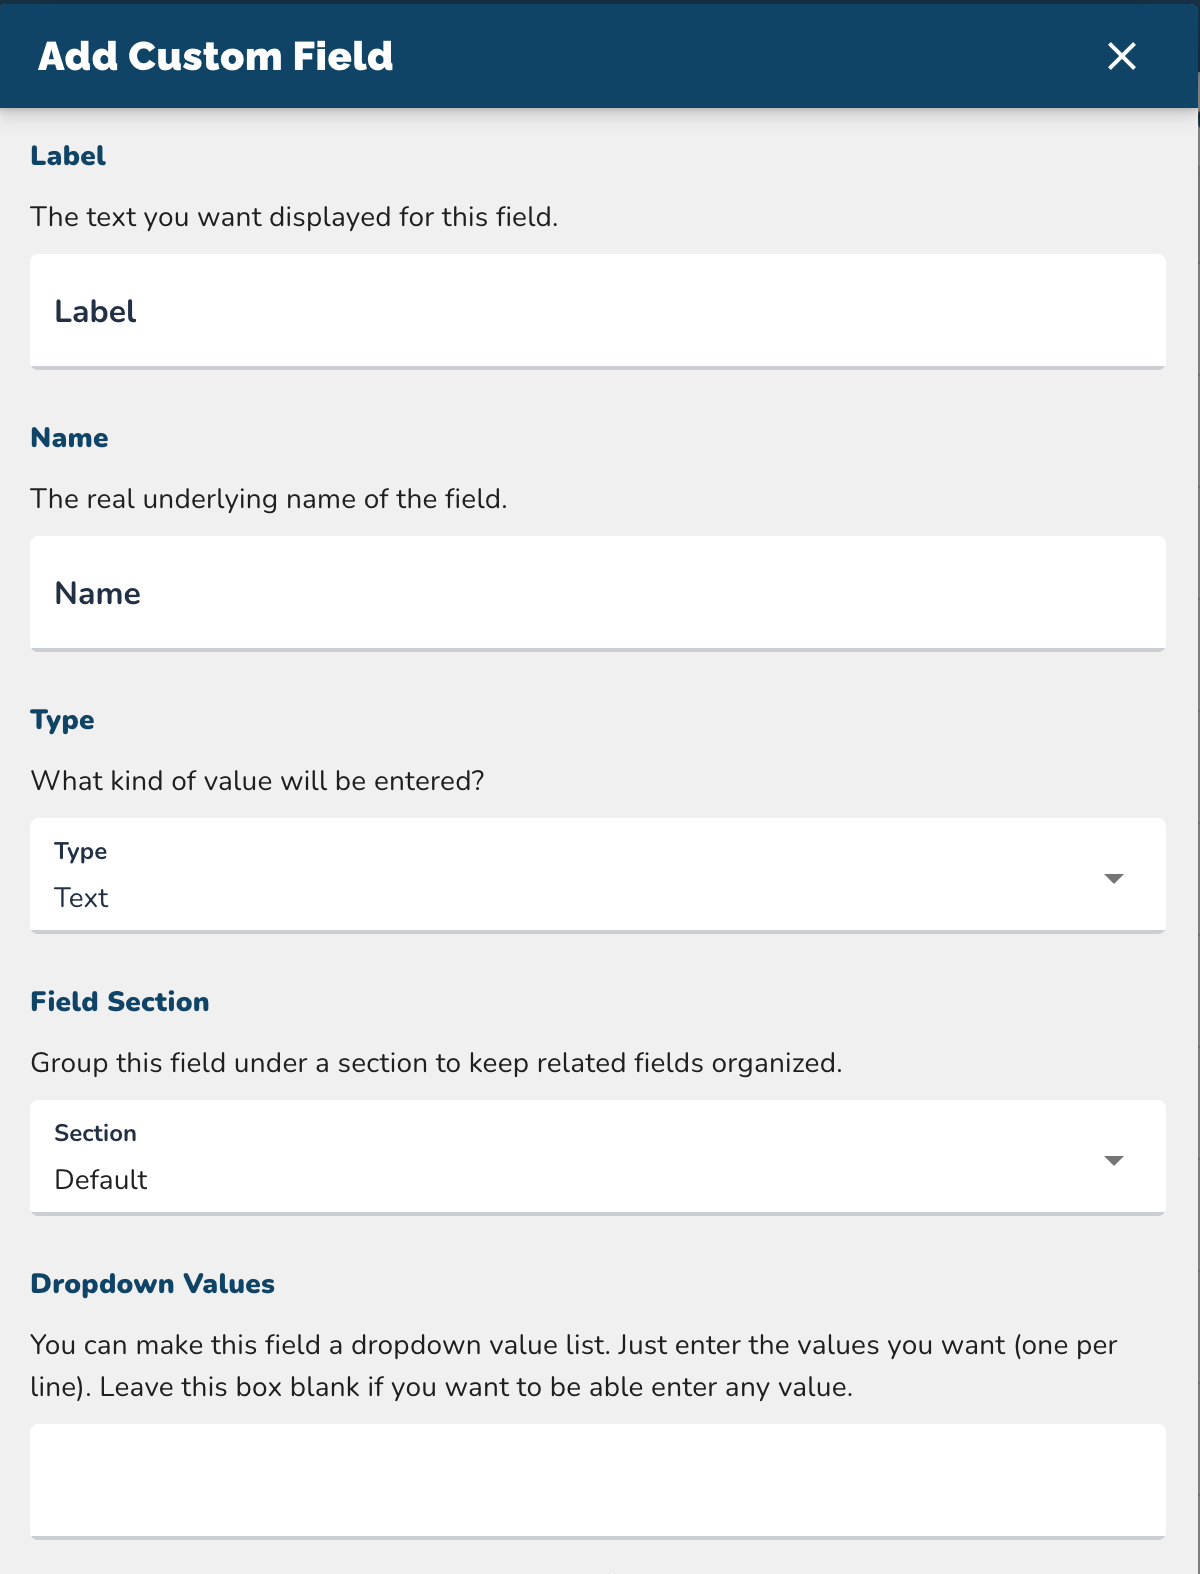
When creating a contact field, you’ll configure the following:
Label
The display name of the field (e.g., "Event City").
Don't worry, this can be changed after creation.
Name
The "real" name of the field. This is how you will reference the field in automations.
Auto-generates based on the label.
This field CANNOT be changed after creation.
Field Type
Choose the data format: Text, Number, Date, True/False, Dropdown List, etc.
Example: A recruiter wanting to track event locations would choose Text.
Field Settings & Permissions
After creating a field, you can edit permissions from the field page by clicking the checkboxes on the field.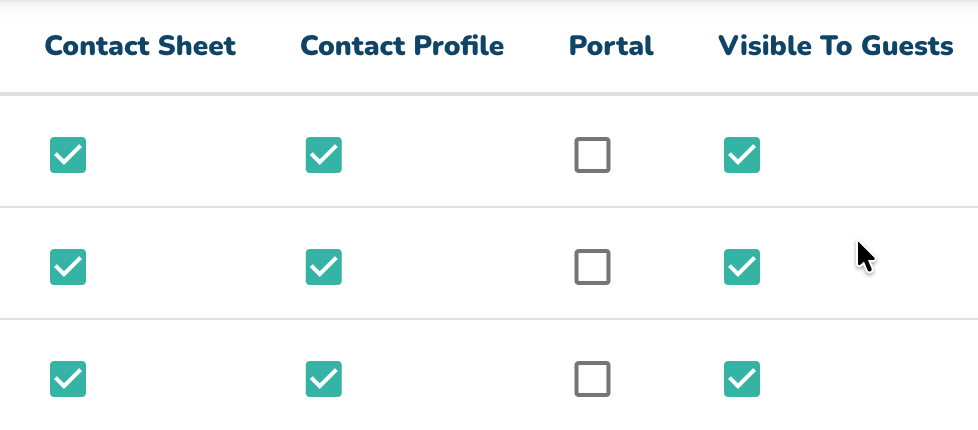
Visibility Options
Show in Sheet – Displays the field in contact lists.
Show in Profile – Displays the field in individual contact profiles.
Editing Permissions
Admins Only – Only admin users can edit the field.
Admins & Guests – Both admin & guest users can edit it.
No Editing – The field is locked from any changes.
Example: A Company ID field that should never be modified.
View Permissions
Visible to Admins Only (default setting).
Visible to Guests (enable if guest users should see the field).
Using Dropdown Values
Any Text or Number field can be converted into a dropdown list.
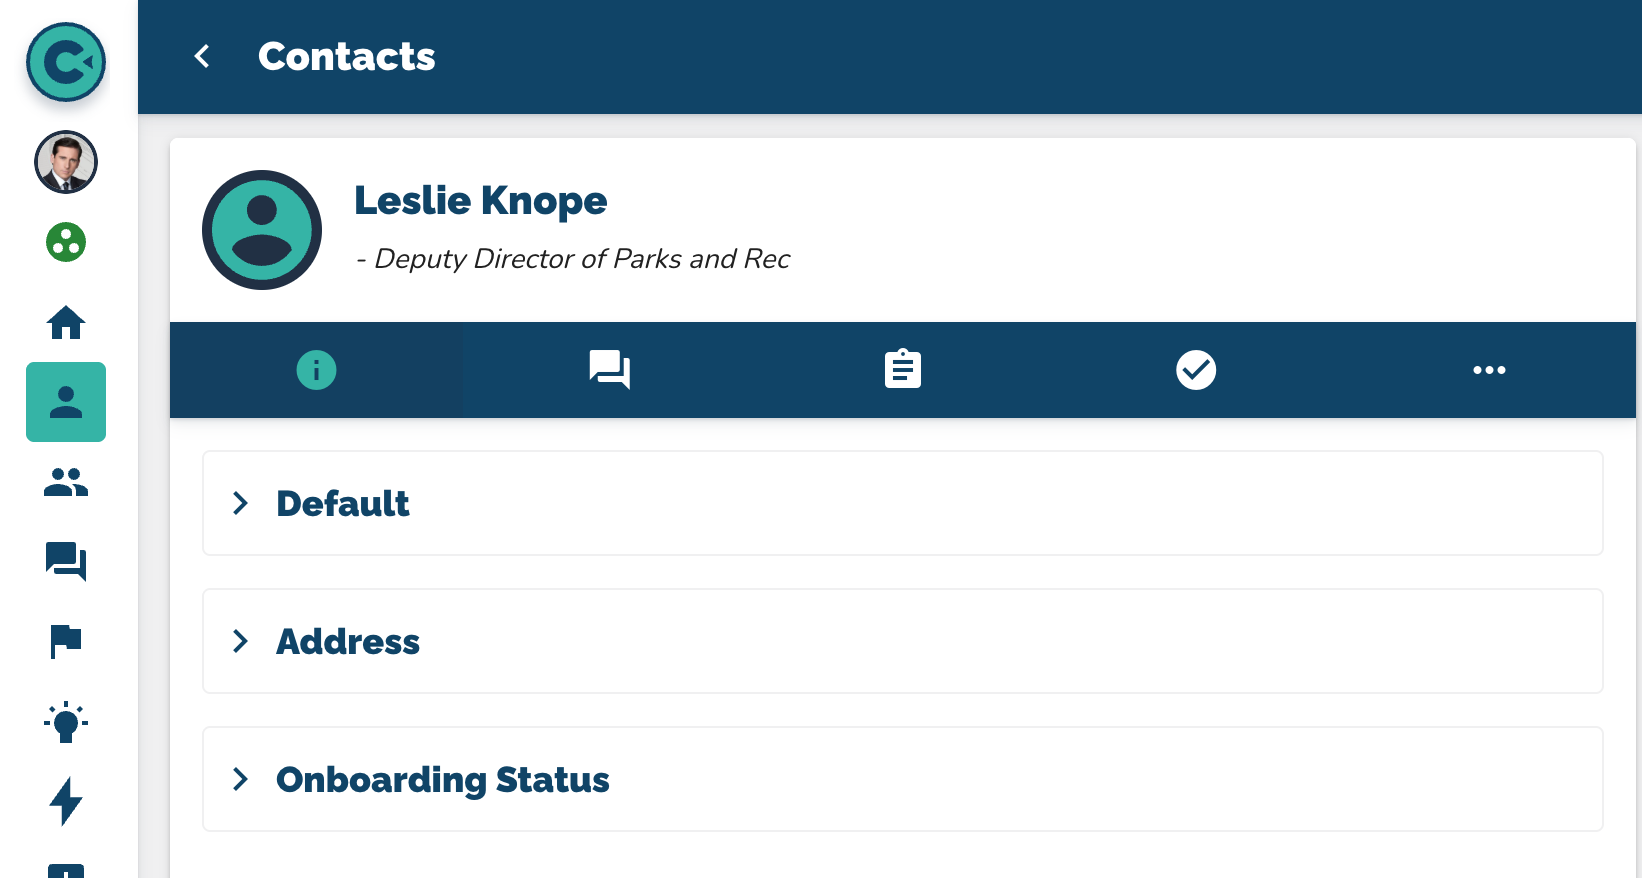
Example: If you're tracking Onboarding, you could create an Onboarding Status field with dropdown values:
started
provided_info
pending_background_check
signed_agreement
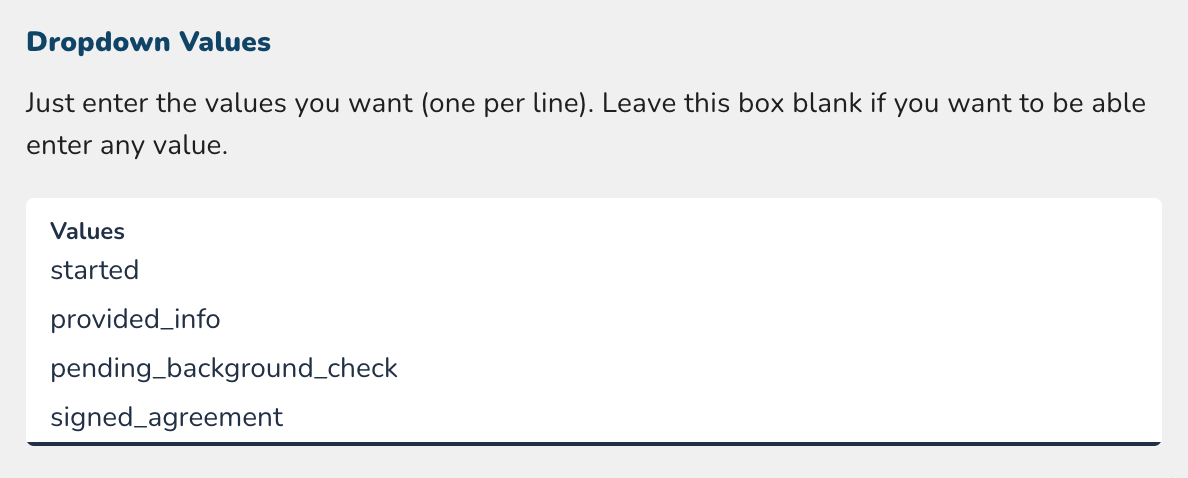 NOTE: Leaving the dropdown field blank allows free text entry instead of restricting it to set options.
Managing Contact Fields
Contact fields can be filtered, sorted, and grouped for targeted messaging.
Guest User Access can be granted for specific fields.
Field Sections enable better organization of contact information (see image below)
Learn More
Creating Groups
Uploading/Importing Contacts
More in Settings

Settings
What are Roles?
Roles help you manage user access by grouping permissions into roles that can be assigned to one or more users.
Settings
Setting Up Your ConveYour API Services & Keys
This guide walks you through creating a ConveYour API service account, generating API keys, and testing your connection using Postman.
Settings
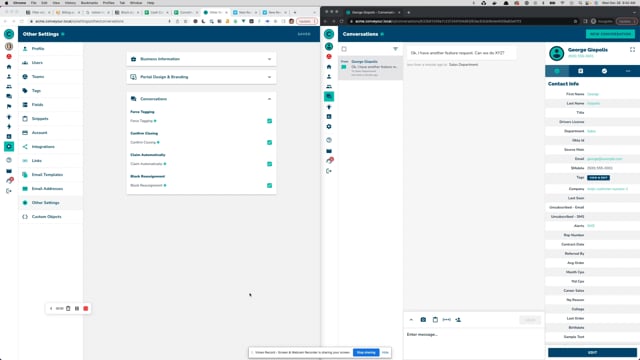
Conversations Settings
Conversation settings for better management of assignees and message tags.
Settings
How to Customize the Learner Portal
Customizing portal theme on an individual basis.