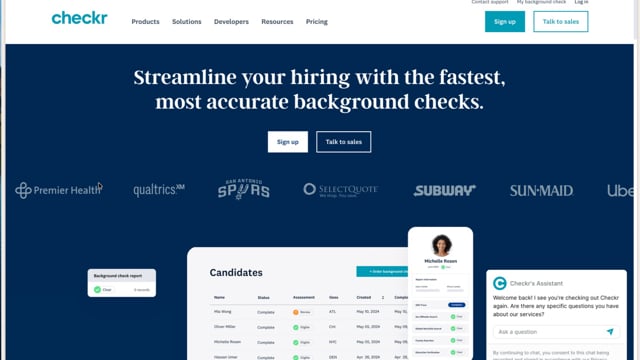
 ConveYour now integrates with Checkr so organizations can run background checks on contacts directly inside a lesson — no separate app, no manual handoff.
A contact reaches a Checkr lesson widget, completes Checkr's official disclosure and consent flow in a secure modal, and ConveYour orders the background check on their behalf. As Checkr processes the report, ConveYour receives webhook updates and records activity on the contact profile.
This is a per-org integration: each customer connects their own Checkr account (API key + staging or production environment).
Watch the Setup Video
Why It Matters
Before | After |
|---|---|
Background checks happen outside ConveYour | Checks run as a step in a lesson journey |
Consent and PII handled ad hoc | Checkr's hosted consent modal + server-side PII handling |
No visibility when a report completes | Contact timeline events + profile fields updated automatically |
Admins hunt for package names in Checkr | Built-in package slug browser inside ConveYour |
Best fit: onboarding flows, compliance checkpoints, and any program where a contact must pass a background check before moving forward.
Contact Experience (Portal)
Contact opens a lesson with a Checkr widget.
They tap Start Background Check (or the flow opens automatically, depending on lesson settings).
ConveYour prepares their Checkr candidate profile behind the scenes using mapped contact fields.
If they haven't completed a check for this package yet, Checkr's Disclosure & Consent modal opens — the same experience Checkr provides natively.
After consent, ConveYour orders the report immediately.
The lesson item marks complete and shows your configured success message.
If they've already completed a check for that package: the widget skips the modal and auto-completes — no duplicate orders.
Important: Contacts do not see report results inside the lesson. Results are tracked on the contact profile and in the contact event timeline (see Admin Visibility below).
Admin Setup (One-Time per Org)
1. Connect Checkr
Settings → Integrations → Checkr
Enter the customer's Checkr API key
Choose Staging (for testing) or Production
Save — ConveYour auto-enables the plugin and generates a unique webhook URL
2. Register the Webhook in Checkr
Copy the webhook URL from the integration screen and add it in the Checkr dashboard:
Checkr → Account Settings → Webhooks
Subscribe to at least:
report.createdreport.completed
The URL includes a per-org secret key — only Checkr events for that organization are accepted.
3. Find Package Slugs
From the integration screen, open Browse your Checkr package slugs (/plugin/checkr/packages).
This page lists the customer's Checkr packages with copyable slugs — needed when configuring the lesson widget.
4. Add the Lesson Widget
In the lesson editor, add a Checkr widget and configure:
Package slug — which Checkr package to run (e.g. basic criminal, MVR, etc.)
Field mappings — which contact fields supply work location, SSN, DOB, driver's license, etc. (depends on package type)
UX copy — button label, success message, auto-open behavior
Required contact data before the widget runs: email, first name, last name, and work location state (minimum). Additional fields depend on the Checkr package.
Admin Visibility
When Checkr sends webhook updates, ConveYour automatically:
Updates contact profile fields:
Checkr Candidate ID— links the contact to CheckrCheckr Report Packages— which packages have an ordered reportCheckr Report Clears— which packages returned a clear result
Records contact timeline events:
checkr_report_created— report was createdcheckr_report_clear— report completed with a clear resultcheckr_report_consider— report completed with a consider resultOther result-specific event names as applicable
Events include report ID, package, status, result, and assessment where Checkr provides them. CS and admins can use these on the contact timeline and in reporting (when analytics/ETL is enabled for the org).
Security & Compliance Highlights
PII stays server-side. SSN, DOB, and other sensitive fields are read from the contact profile on the backend and sent to Checkr — the portal widget never handles raw PII.
Checkr owns consent. Disclosure and consent happen inside Checkr's hosted modal, not a custom ConveYour form.
Webhook URL is org-scoped. Each organization gets a unique secret embedded in their webhook URL.
SSN is locked after ordering. Once a report exists, ConveYour stops sending SSN updates to Checkr on subsequent prepares.
Testing Checklist (CS / Implementation)
Recommend customers test in Checkr Staging first:
Connect integration with
environment: stagingRegister webhook URL in Checkr staging dashboard
Confirm package slugs appear on
/plugin/checkr/packagesBuild a test lesson with the Checkr widget + field mappings
Walk through as a portal contact: prepare → consent modal → report ordered → lesson completes
Trigger or wait for Checkr webhooks; confirm contact events appear on the timeline
Re-take the lesson — widget should auto-complete (no duplicate order)
Switch to production API key + environment when ready
Known Limitations
Not included (yet) | Notes |
|---|---|
Report results in the lesson UI | Contacts see success text only; results live on the contact profile / events |
Deep link to Checkr report from contact | Admins use Checkr dashboard directly |
All Checkr webhook types | Only |
Automatic journey branching on result | Events are recorded; workflows/triggers can consume them separately |