How to Integrate Cal.com and ConveYour
A quick guide on how to integrate Cal.com scheduling into ConveYour lessons.

Note: This guide assumes you have already:
Created a Cal.com account
Added your availability
Created your events
If you still need to set up your Cal.com account, check out our Quick Start Guide.
Adding a Cal.com Scheduling Link to a Lesson
1. Open a Lesson in ConveYour
In ConveYour, navigate to Main Menu > Lessons and select or create the lesson where you want to add scheduling.
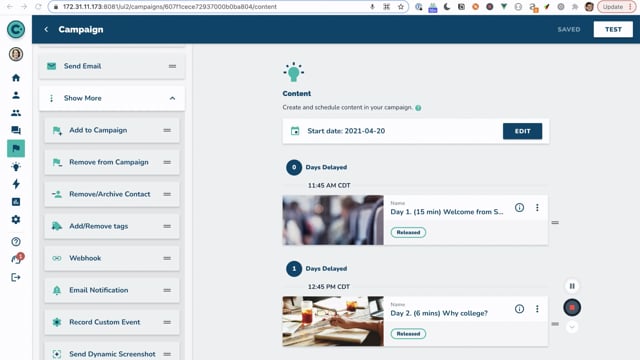
2. Add the Cal.com Scheduling Engagement
On the left panel, find the Cal.com engagement item under Scheduling.
Drag and drop it onto the right panel to add it to your lesson.
3. Get Your Event Link from Cal.com
In your Cal.com account, create an event (if you haven't already).
Ensure that Hidden Mode is turned off and that your availability is set.
Copy the event link from Cal.com.
4. Add the Event Link to Your Lesson
Paste the Cal.com event link into the Cal.com lesson item in ConveYour.
5. Customize Your Booking Experience (Optional)
Button Text: Modify the booking button text if desired.
Success Message: Customize the message learners see after successfully booking.
6. Assign a Field to Store the Scheduled Time
Select a field to store the scheduled time.
Ensure the field type is set to "time" (see walk-through video).
Learners' scheduled times will automatically adjust to your account’s set time zone—no need to manually convert time zones.
7. Enable or Disable "Skip" Option (Optional)
Skip enabled: Learners can skip the lesson item without booking.
Skip disabled (default): Learners must book a time to proceed.
8. Save and Test
Save your lesson and test the user experience to ensure everything is working correctly.
More in Integrations
Integrations
Checkr
This guide shows you how to connect your Checkr account to ConveYour, configure background check packages, and streamline candidate screening without manual tracking.
Integrations
Webhooks
Trigger a webhook sending a contact's data as JSON to your desired service.
Integrations
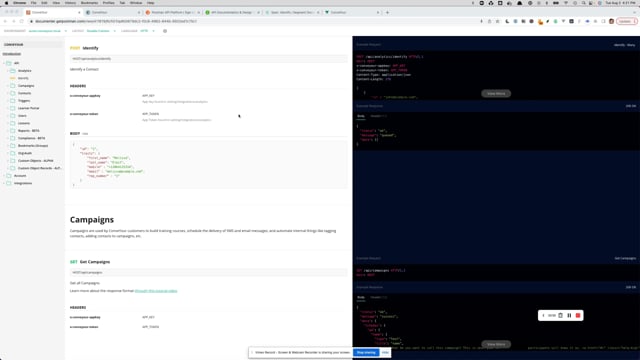
ConveYour API
Add your employees and community members to ConveYour programatically.
Integrations
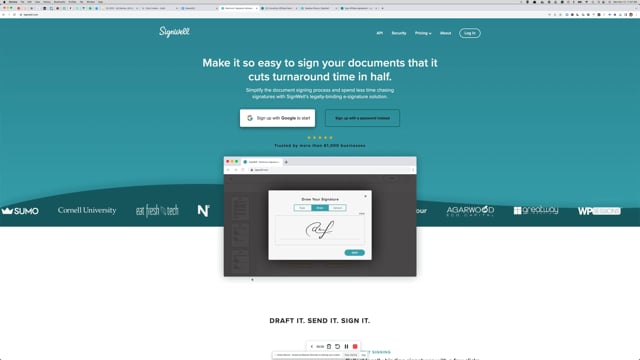
SignWell
How to Set Up Your SignWell Template to integrate into a ConveYour lesson.