DocuSign
How ConveYour integrates with DocuSign to help you automate the process of onboarding new sales reps.
 With ConveYour’s DocuSign integration via Zapier, you can automate the entire document signing and onboarding process for new reps. This reduces manual work for trainers and ensures a seamless onboarding experience.
Learn More About The Power of ConveYour's Zapier Integration >>
Connecting Your Accounts
To send learner information to DocuSign, you first need to:
Create a Zapier account at Zapier.com (if you don’t already have one).
New to Zapier? If you need extra help setting up, check out Zapier’s documentation for a detailed walkthrough.
Setting Up the DocuSign Workflow
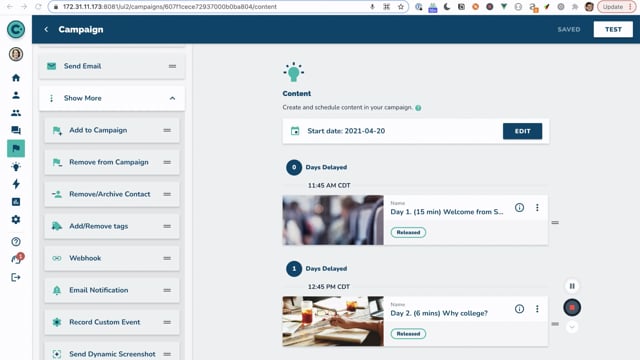
In ConveYour, navigate to Main Menu > Campaigns and select or create your Campaign.
Under Content, add a new Webhook to your Campaign.

In Zapier, create a new Zap.
Select Catch Hook in Webhooks by Zapier as the trigger.

Copy the Webhook URL from Zapier.
Paste the Webhook URL into the Webhook field inside your ConveYour Campaign.

In Zapier, create a new Action.
Select DocuSign as the app and Create Signature Request in DocuSign as the action.
Connect your DocuSign account.

Under Templateid, select the DocuSign document that learners need to sign.

Match Zapier fields to ConveYour learner data (e.g., Name, Email, Address, etc.) and click Continue to finalize.
Use Zapier’s Test Action to ensure correct mapping before finalizing.
Once the document is signed, the learner is assigned an Agreement ID in DocuSign.
Updating Learner Profiles in ConveYour
Once a learner signs the document, Zapier needs to send that data back to ConveYour to update their profile.
Create a new Zapier Zap, setting DocuSign as the App and Envelope Sent or Completed as the event.

Create a new Action and set the App to ConveYour.

Set the Identify Key to the learner’s email address.

Create two data fields:
Agreement ID
Agreement Signed Date
Optional: Add a third field for the learner’s name (useful if onboarding new users without existing ConveYour profiles).

What You Can Automate with ConveYour + DocuSign
With this integration in place, you can:
Send SMS reminders to learners who haven’t signed yet.
Release onboarding courses automatically once the agreement is signed.
Segment learners into groups based on signing date or Agreement ID.
Trigger additional workflows based on completion status.
This setup streamlines document signing and onboarding, ensuring better compliance, efficiency, and engagement in your training programs.
Learn More
Setting Up Your Zapier Integration in ConveYour
Zapier's "How it Works" Document
More in Integrations
Integrations
Checkr
This guide shows you how to connect your Checkr account to ConveYour, configure background check packages, and streamline candidate screening without manual tracking.
Integrations
Webhooks
Trigger a webhook sending a contact's data as JSON to your desired service.
Integrations
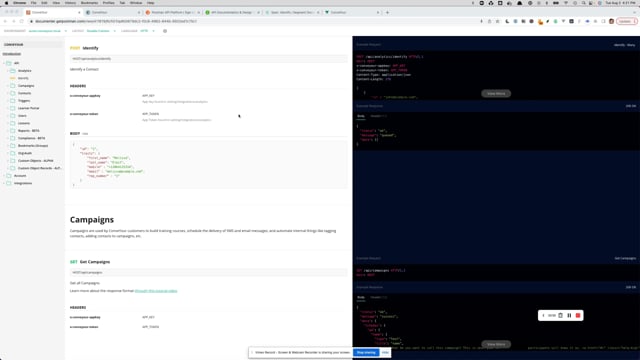
ConveYour API
Add your employees and community members to ConveYour programatically.
Integrations
SignWell
How to Set Up Your SignWell Template to integrate into a ConveYour lesson.