API Services & Keys
This guide walks you through creating a ConveYour API service account, generating API keys, and testing your connection using Postman.
Before You Begin
ConveYour provides several resources to help you get started with the API:
Reviewing these resources is highly recommended before building your integration.
Step 1: Create a Service Account
A service account acts as a dedicated API user for your integration. Although it functions like a guest user, it does not appear in your standard Users list.
Create the Service Account
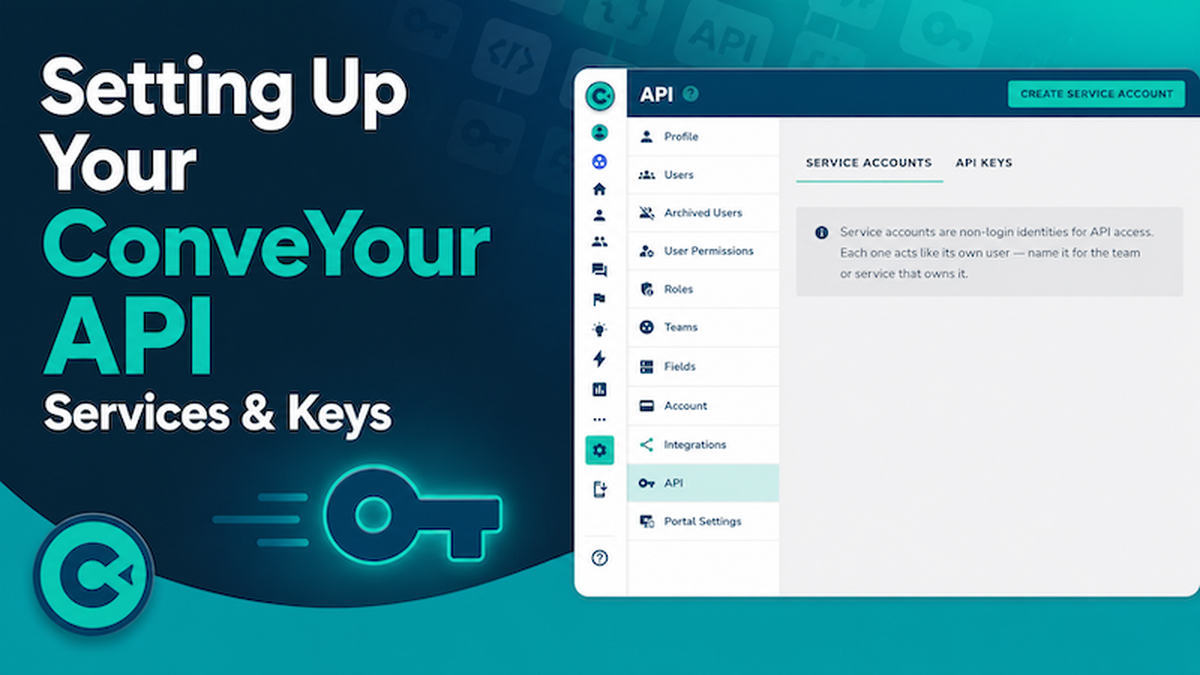
Navigate to Settings → API → Service Accounts.
Click Create Service Account.
Enter a name (for example, Sales Production).
Add a description explaining the account's purpose (for example, Recruiting and Onboarding API).
Select the appropriate team(s).
Click Create Service Account.
Configure Permissions
After creating the account:
Select Edit Permissions.
Grant the permissions required for your integration.
Save your changes.
Important: Your API calls can only perform actions that the service account has permission to perform. If permissions are not configured correctly, API requests may fail.
Step 2: Generate an API Key
Once the service account has been created, you can generate an API key.
Create the Key
Navigate to Settings → API → API Keys.
Click Create API Key.
Enter a name for the key (for example, Sales Production).
Choose the API Type
You will be asked to select an API type:
Analytics API
Use this option when your primary goal is:
Creating new contacts
Tracking or Updating existing contacts
Full API
Use this option when you need to:
Retrieve more contact information
Access reports
Create lessons, campaigns, and more!
Use all available API endpoints
Note: Most integrations that only create contacts can use the Analytics API. Reporting and data retrieval require the Full API.
Select the Service Account
Choose the service account you created earlier.
Set an expiration date if desired.
Click Create.
Step 3: Save Your API Token
After the key is generated:
Copy the API token immediately.
Store it in a secure location.
Important: ConveYour only displays the full token once. After you leave the page, only a partial token preview will be visible.
The partial characters shown later are intended only to help you verify that you're using the correct saved token.
Important Update: x-conveyour-appkey Is No Longer Required
Some older documentation and videos reference an x-conveyour-appkey.
This is no longer necessary.
For current API implementations, you only need: x-conveyour-token
When reviewing older API documentation or videos, simply ignore any references to App Keys.
Step 4: Test Your API Connection with Postman
A simple way to verify your setup is by creating a contact through Postman.
Endpoint
To create or update a contact, use the Identify endpoint:
https://YOUR-DOMAIN.conveyour.com/api/analytics/identify
Replace YOUR-DOMAIN with your ConveYour subdomain.
Required Header
x-conveyour-token: YOUR_API_TOKEN
No App Key is required.
Example Request Body
{
  "id": "$email",
  "traits": {
     "first_name": "John",
     "last_name": "Doe",
     "email": "[email protected]"
  }
}
Understanding the ID Field
The id field provides the unique identifier for the contact.
Common options include:
Email address:
$emailMobile phone number:
$mobile
For example:
Using Email
{
  "id": "$email",
  "traits": {
    "first_name": "John",
    "last_name": "Doe",
    "email": "[email protected]"
  }
}
Using Mobile Number
{
  "id": "$mobile",
  "traits": {
    "first_name": "John",
    "last_name": "Doe",
    "mobile": "5551234567"
  }
}
When using $mobile, ConveYour treats that value as the unique identifier.
A contact cannot be created with an identifier that already exists in the system.
Adding Additional Contact Data
You can include additional fields inside the traits object:
{
  "id": "$email",
  "traits": {
    "first_name": "John",
    "last_name": "Doe",
    "email": "[email protected]",
    "city": "Dallas"
  }
}
Any valid ConveYour fields may be included and populated during contact creation.
Expected Response
When the request is successful, ConveYour will return a response similar to:
{
  "status": "ok",
  "message": "queued",
  "data": []
}
This indicates that the request has been accepted and queued for processing.
After refreshing your Contacts page, the new contact should appear in ConveYour.
Getting Help
If you need assistance:
Click the Help button in the lower-left corner of ConveYour.
Review the Help Documents.
Browse the Video Gallery.
Ask Cy.
Contact Support.
You can also revisit the API documentation and training resources listed above.
With a properly configured service account and API key, you'll be able to securely send data into ConveYour and retrieve information from your account through the API.