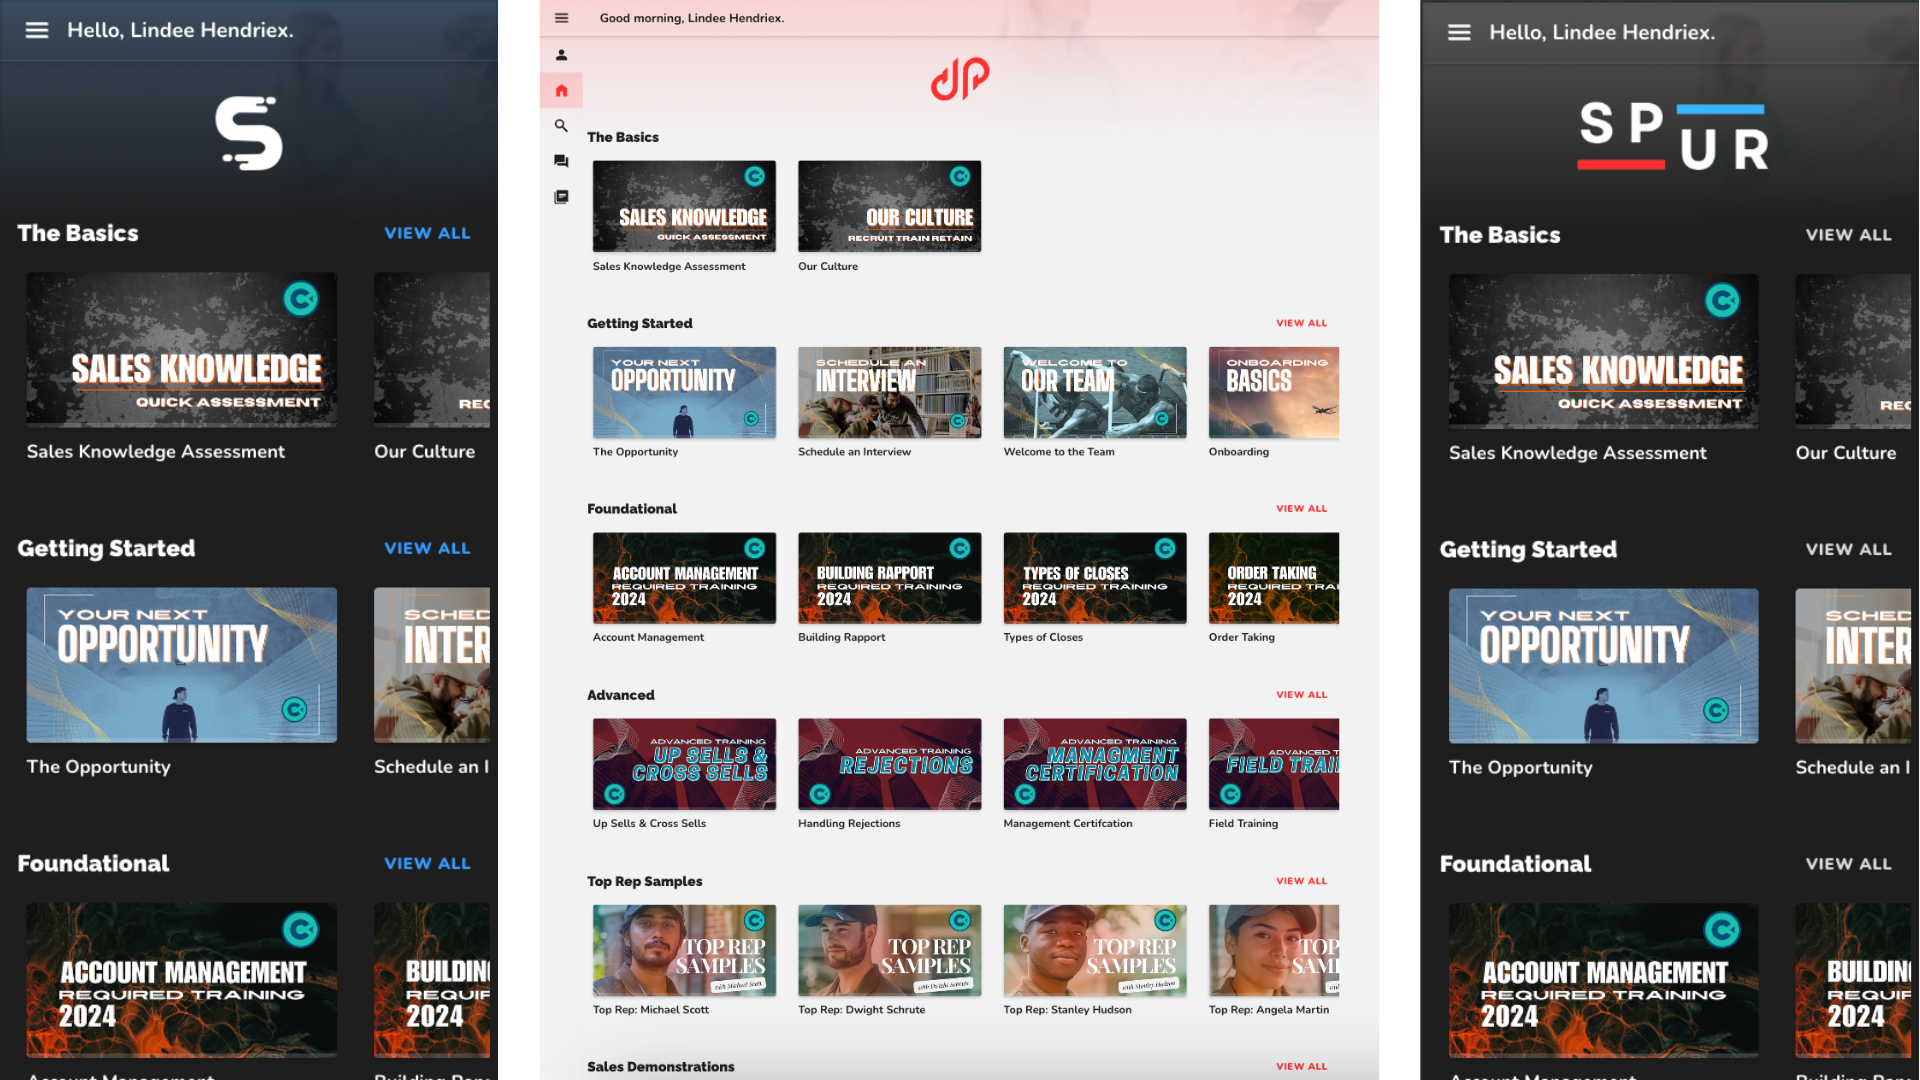
What is the Learner Portal?
In Short, the Learner Portal is where learners, contacts, and recruits access your campaigns or training content. No log in is required as learners are sent a unique link in an email or SMS notification.
Adjustable Learner Portal Settings
Campaigns Tab > Select a Campaign > Learner Portal tab
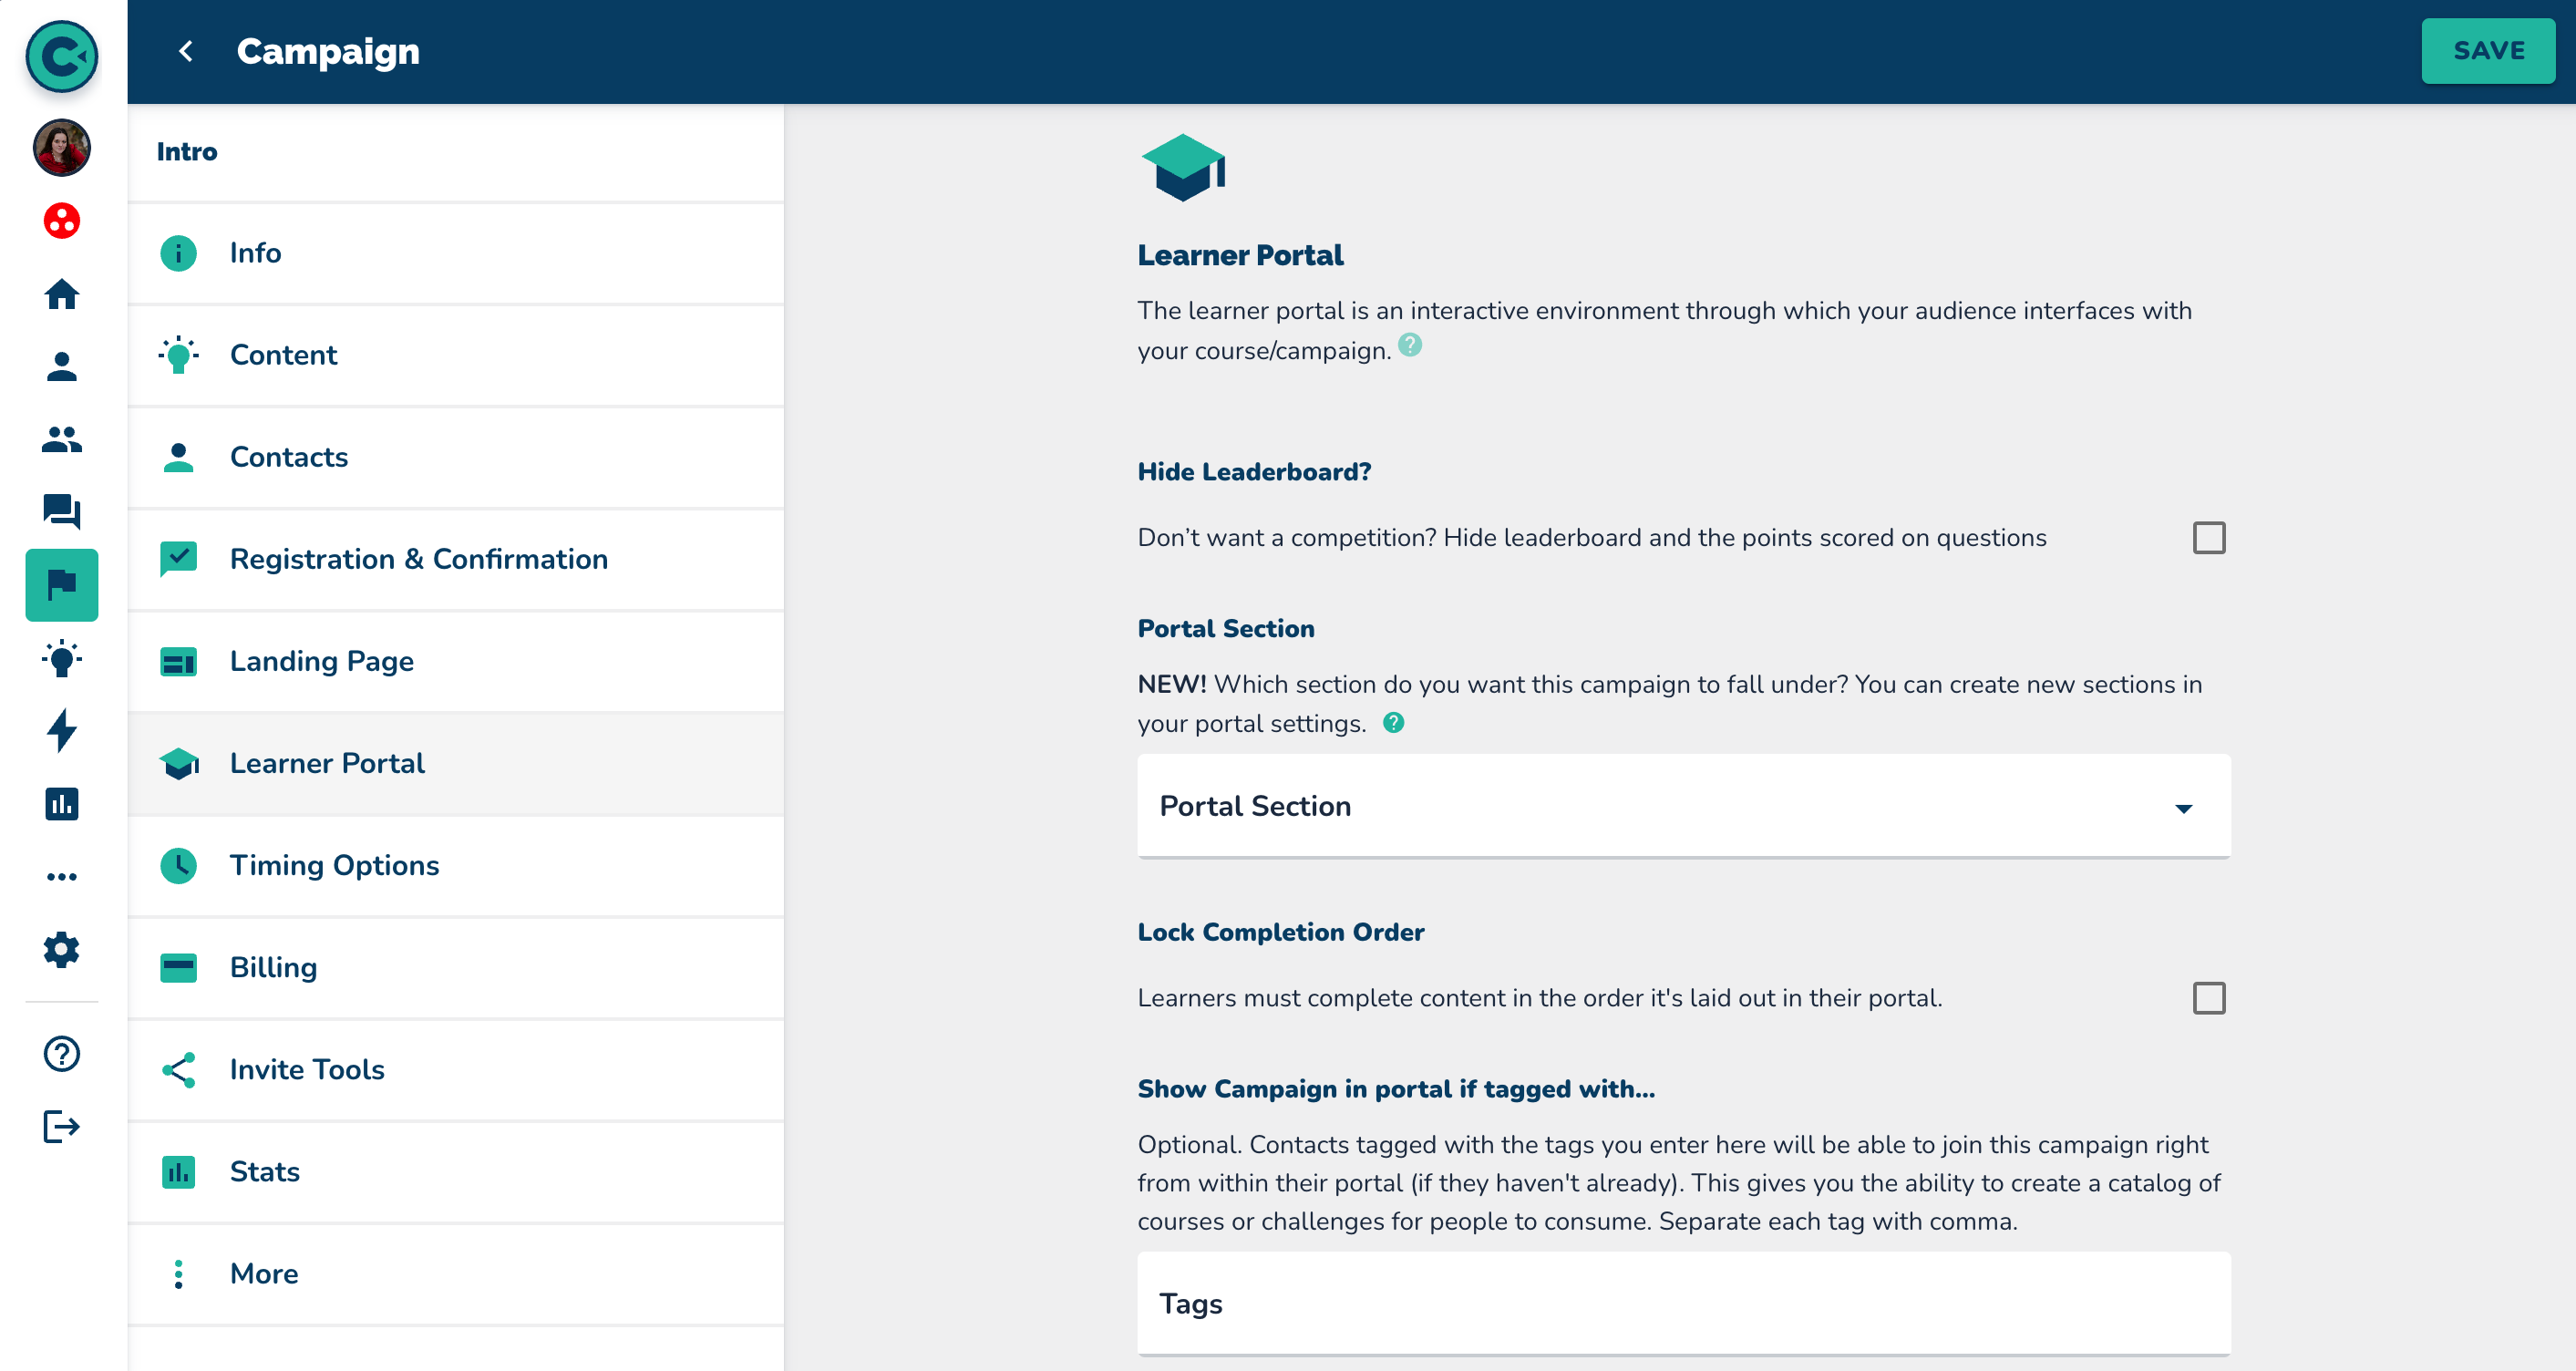 You can configure:
Leaderboard visibility
Portal sections (content grouping)
Locked completion order (linear content access)
Course visibility based on contact tags (limit course to a group of contacts with a shared tag)
Sort order when learners have multiple courses (campaign display order)
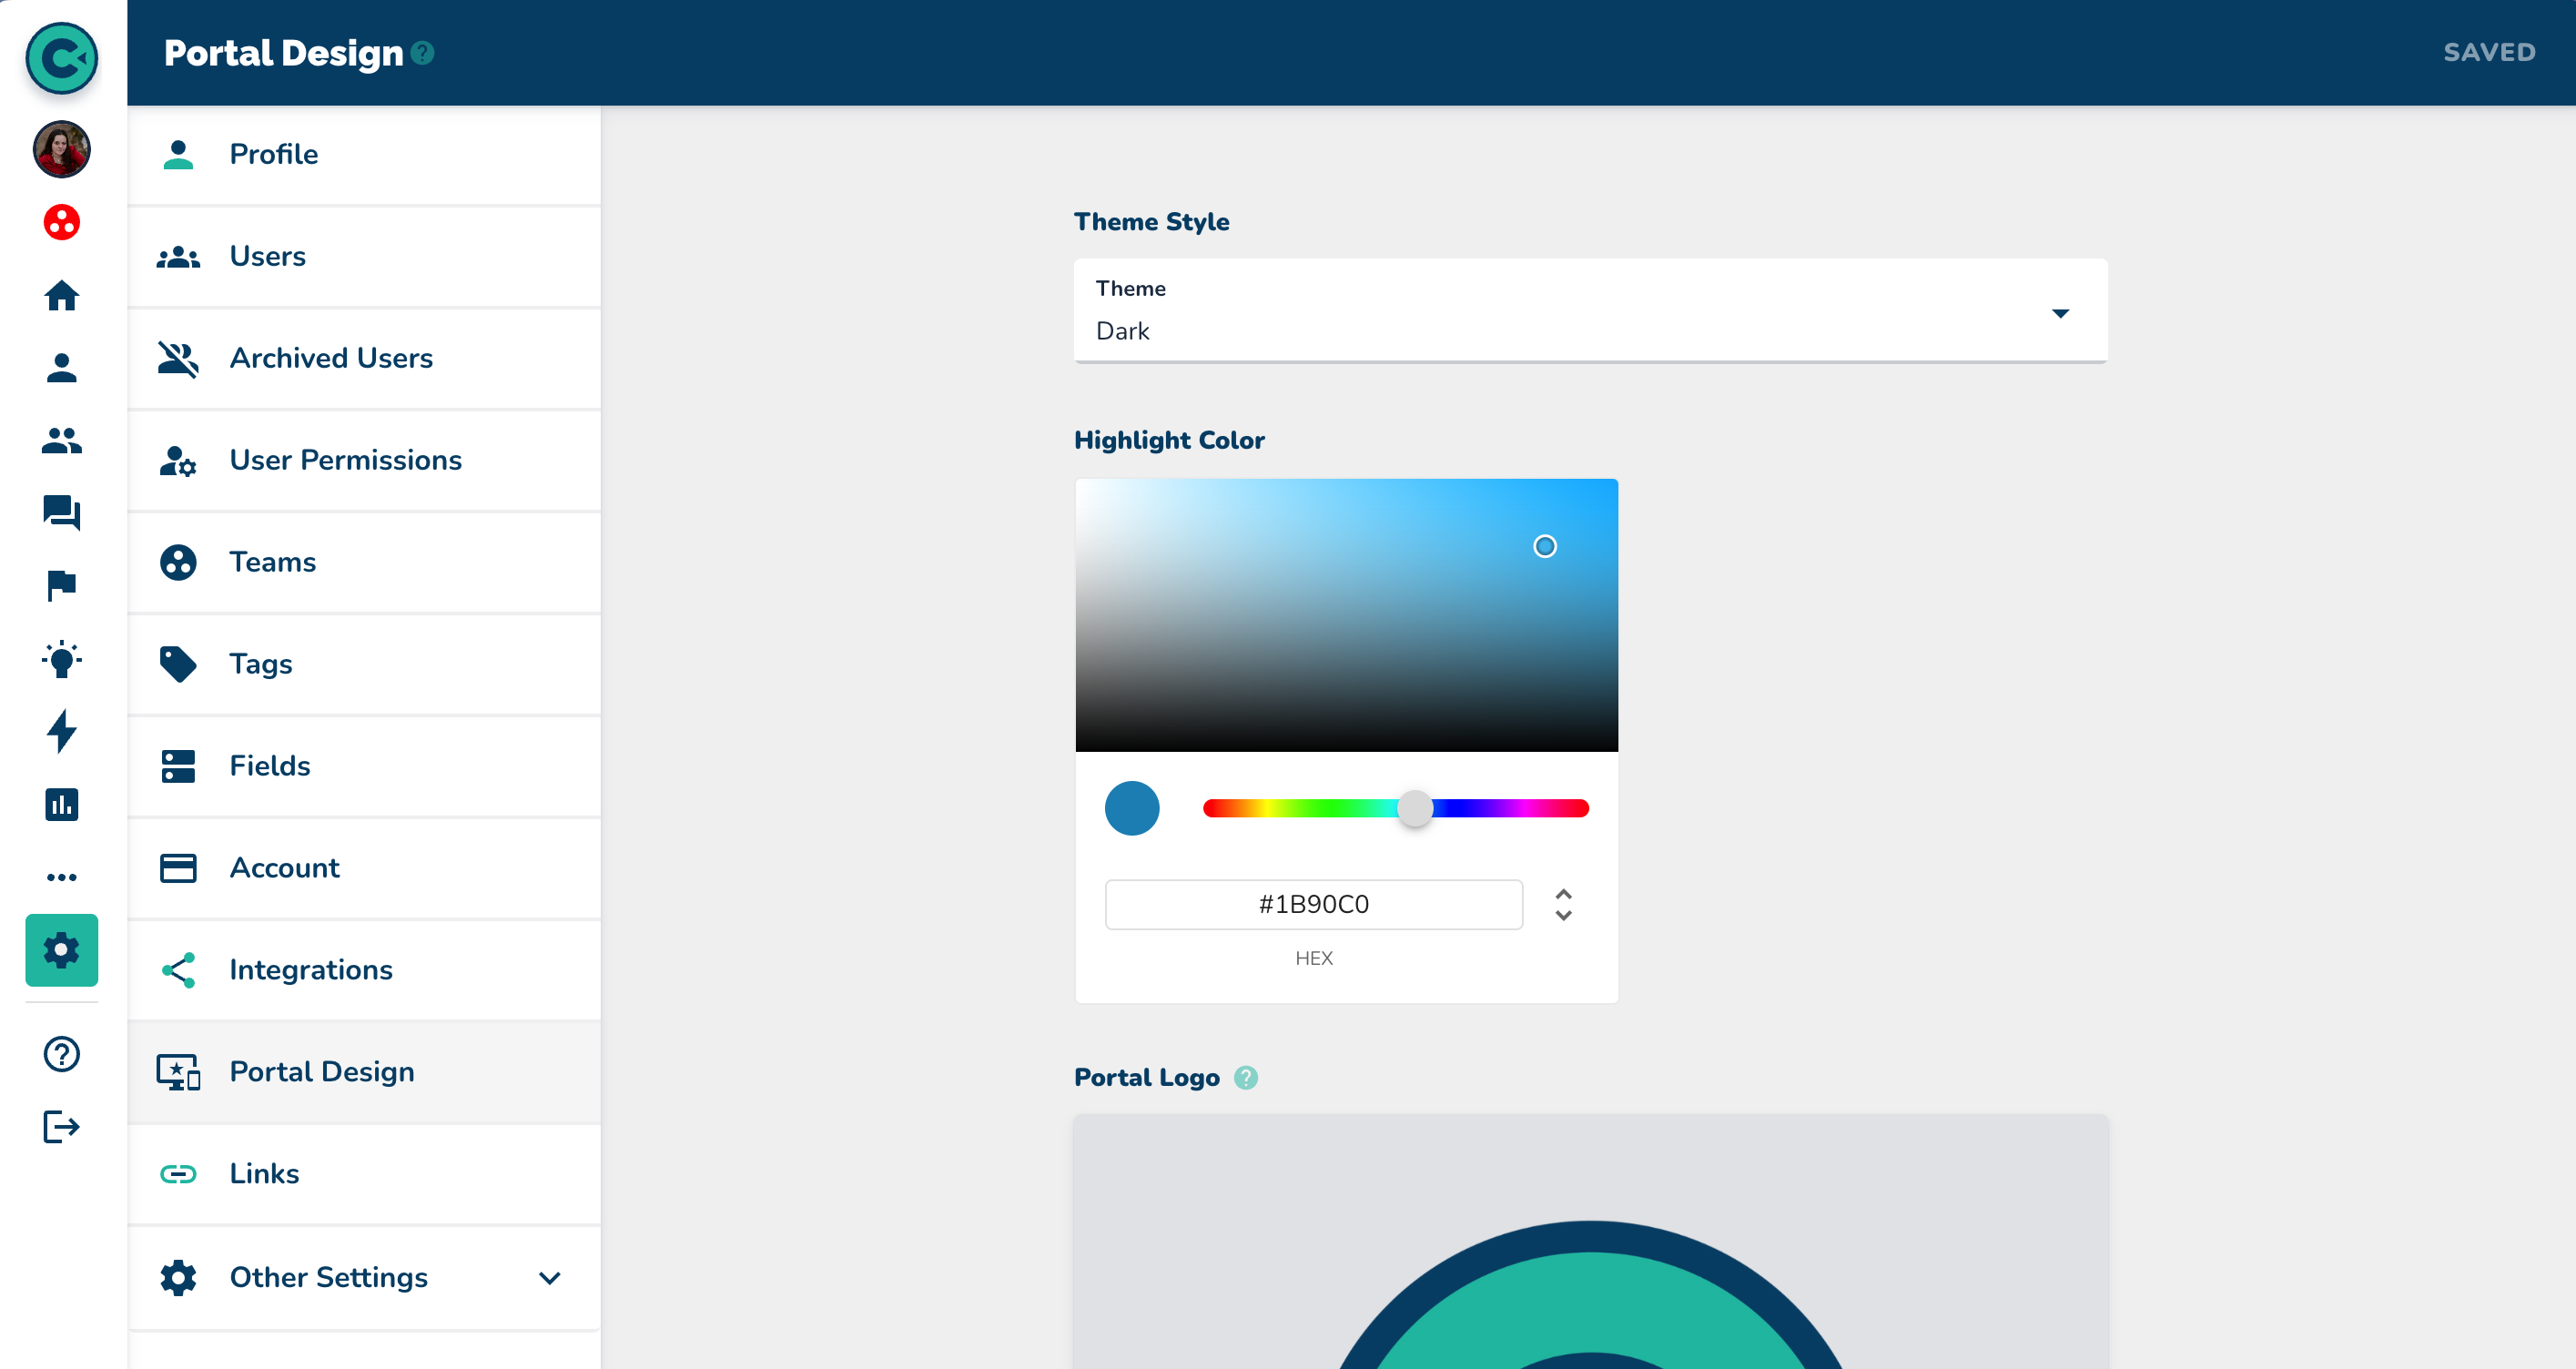
Settings > Portal Design
 You can configure:
Branding & theme (see Settings > Portal Design)
Key Settings
1. Leaderboard
Turn it on for gamified or incentive-driven programs.
Turn it off for sensitive or reflective content (e.g., compliance, private learning).
2. Portal Sections
Group content into sections like “Basics” or “Getting Started” to guide learners. (See this tutorial for step by step on how to set this up)
3. Lock Completion Order
Enable to force linear progress (good for compliance/structured training). Leave off if learners can jump around. (Here is how to turn on the lock for a campaign)
4. Show Campaign If Tagged With
Automatically show a course to contacts who have a specific tag (e.g., everyone tagged “leadership” sees that course).
5. Sort Order in Portal
Set course order so prerequisites appear first.
Branding & theme
Settings > Portal Design
Here you can:
Choose light or dark theme
Pick a primary color (hex code)
Upload logo, icon, and open graph image
Logo: Displays at the top of the learner portal.
Icon: Displays on the “app” when the learner portal link is saved to a leaners phone home screen.
Open graph image:Displayed when you text campaign links to learners.
Arrange portal sections
Per-Learner Branding
 Useful when you need a portal that matches a client’s corporate look or a separate sales team’s brand — great for demos and client-specific presentations.
What to do:
Add these custom contact fields: Portal_Logo, Portal_Theme, Portal_Color. (See video for adding custom fields.)
If the logo is hosted publicly, copy its URL and paste into the Portal Logo field.
Pick your primary brand color as a hexadecimal value (e.g., #123456) and add it to Portal Color.
Choose light or dark theme — pick whichever gives good contrast with your logo and color.
If you want help creating these fields, reach out and we’ll walk you through it.
Apply Branding to a Group
Go to Groups, open the group menu and select Export Contacts.
In the exported CSV, add columns: Portal Logo, Portal Theme, Portal Color.
Fill rows with the logo URL, light/dark, and the hex color.
Save and re-upload the CSV — the contacts will update without losing other data.
Check an individual contact to confirm the fields updated.
Related Content
Have Questions?
If you have any questions or need more help, reach out to the Support team via chat or by emailing [email protected].
More in Settings

Settings
What are Roles?
Roles help you manage user access by grouping permissions into roles that can be assigned to one or more users.
Settings
Setting Up Your ConveYour API Services & Keys
This guide walks you through creating a ConveYour API service account, generating API keys, and testing your connection using Postman.
Settings
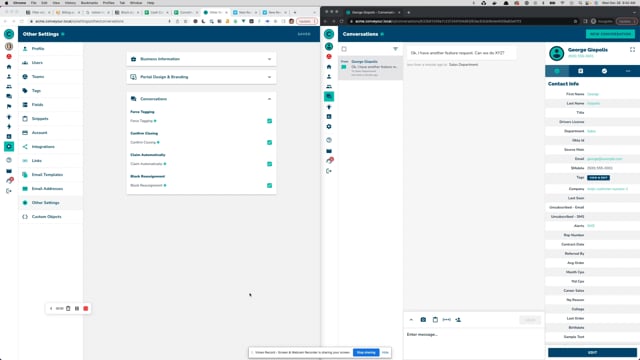
Conversations Settings
Conversation settings for better management of assignees and message tags.
Settings
Contact Fields
Keep track of any type of contact data with contact fields.