How to Add Date Expressions to Group Filters
This guide will walk you through creating a custom "Time" field and setting up groups based on time filters. Use this for scheduling important events, interviews, or tracking start dates on contact profiles.

Overview
This guide will help you create a custom Time field and set up time-based group filters. Whether you’re scheduling interviews, tracking start dates, or managing key events, these steps will help you organize your contacts more efficiently.
Creating a Time Field
Step 1: Navigate to Settings
Navigate to Main Menu > Settings.
Select Fields from the menu.
Step 2: Create a New Field
Click the "+" icon to add a new field.
Name the field based on its purpose (e.g., "Interview Time" or "Start Date").
Set the Field Type to Time to store both date and time values.
Step 3: Adjust Permissions (Optional)
If needed, configure the "Editable By" setting to restrict who can modify this field.
Step 4: Save the Field
Click Save to finalize your new Time field.
Creating a Group Based on a Time Field
Step 1: Navigate to Groups
Navigate to Main Menu > Groups.
Click New > Group to create a new segment.
Step 2: Add a Time-Based Filter
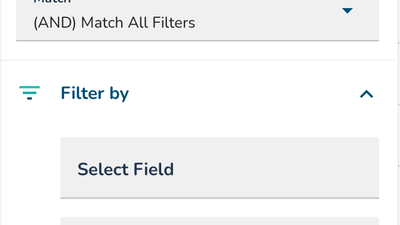
In the group settings, click Add Filter.
Under Select Field or Activity, choose the Time field you created above.
Step 3: Define the Date Expression With "When"
To filter contacts based on time, set a "When" condition:
Example: To find contacts with a start date in the past 6 days, use "greater than +6 days".
Example: To create a 7-day range, set a second filter for "less than +7 days".
Step 4: Save the Group
Click Save to finalize the new group with time-based filtering.
Important Notes
The time of day stored in the field will be considered when matching contacts to automations.
Ensure your time settings align with automated actions to avoid scheduling conflicts.
For further assistance, contact [email protected] or use the in-platform chat.
More in Groups
Groups
Groups Folders
Organize your groups by using folders.
Groups
Groups Introduction
Dynamically segment your contacts using groups in ConveYour

Groups
📅 How to Create a Group matching a Specific Timeframe (Expression Filters)
This guide will walk you through Time Field Expression Filters using Greater Than and Less Than terminology.
Groups
Group Creation, Filtering and Setup
Learn how to create and setup groups to segment your contacts.