Using the Files Page in ConveYour
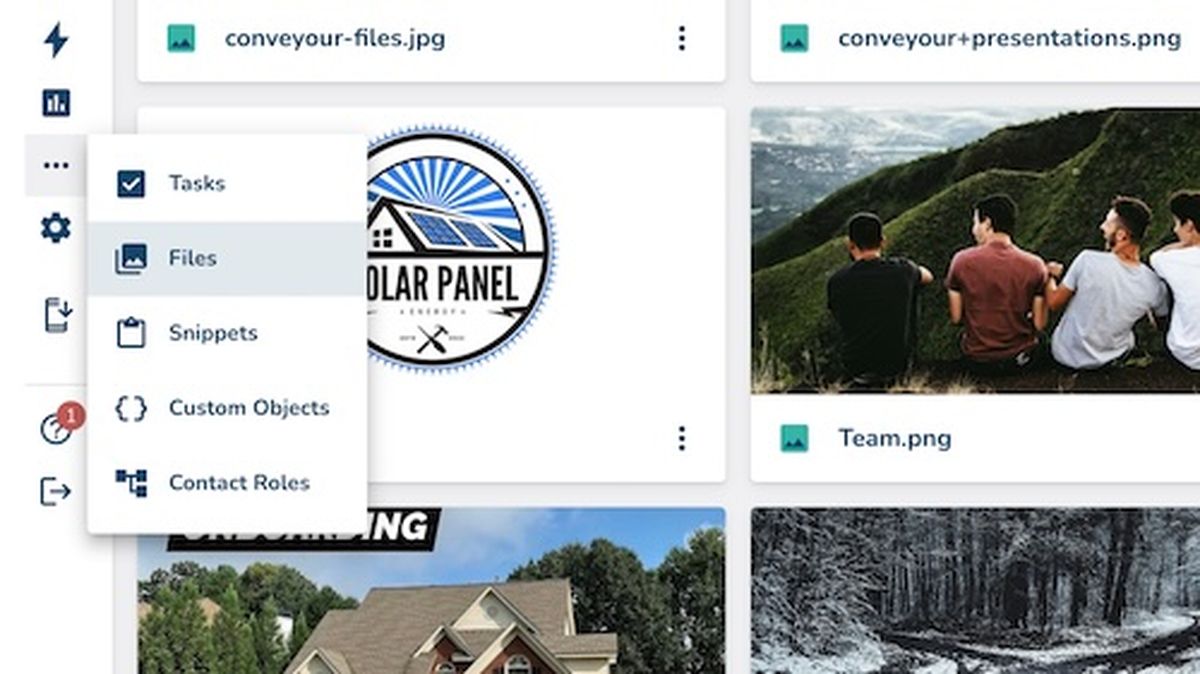
Here's all the functionality of the Files Page to put your training on rails! Access the Files page in the More (...) page on your Main Menu.
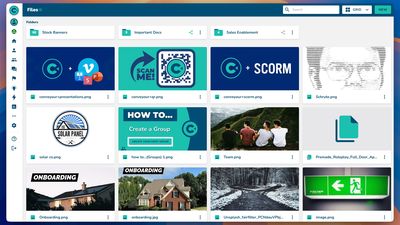
ConveYour’s Files Page makes organizing, managing, and sharing images and documents across your campaigns and lessons both flexible and powerful. This guide walks you through the core features and workflows to help you maximize its functionality.
📂 Accessing the Files Page
When you first visit the Files page in a new account, it may appear empty—populated only with default placeholders. But as soon as you upload images or documents to your campaigns or lessons, they’ll begin to appear here.
To access the Files page, click the More (...) button on your Main Menu, and select Files.
🖼 Uploading and Managing Images
Adding Images Through Campaigns
Create or open a campaign.
Upload an image via the campaign interface.
Save your campaign.
Return to the Files page to view the uploaded image.
Uploaded images automatically adopt the original filename (e.g., from Unsplash). You can rename them:
Click the vertical ellipses (...) icon
Select Edit
Enter a new name.
Click Save — the change applies instantly.
Adding Images Through Direct Upload
Navigate to the More (...) area on your Main Menu
Select Files
Drag and drop an image directly into the Files page.
Rename it if needed, then click Save.
Adding Lesson Images will Appear in Files
Images added using the “SHOW MORE OPTIONS” → Image Upload in a lesson will appear on the Files page.
However, images added via text lesson items in a lesson will not appear on the Files page.
📁 Creating and Sharing Folders
You can organize your files into folders:
Click New → Folder (top right).
Name your folder (e.g., Important Docs) and click Save.
Sharing Folders
Folders can be shared with groups.
A gray folder icon will turn green when it’s shared.
To share:
1. Click on the folder.
2. Choose Share to Group and select a group (you may have to create a group on the Groups page first).
3. Click Share to Group again.
📄 Uploading Documents
Two Ways to Add Documents:
Through Lessons
-Drag a “File” block into your lesson.
-Upload a PDF or other document.
-Click Save
-Document appears on the Files page.Direct Upload
-Drag and drop a document directly into the Files page.
-Rename it if needed, then click Save.
Once uploaded, documents can be added to folders and shared, just like images.
🌐 Viewing Files in the Learner Portal
If a folder (e.g., Important Docs) is shared with a group, anyone in that group can see those files in their portal—even if they’re not in any campaigns or assigned lessons.
To verify this:
Go to the Groups tab.
Select a group (e.g., Everyone).
Pick a contact and view their portal.
Scroll to the bottom of the portal page to see shared files.
🤖 Portal AI: Instant Access to Knowledge
If your account includes Portal AI, learners can search shared files using natural language queries. This turns your portal into a smart support assistant, enabling quick answers on the job—no need to hunt through documents manually.
🧠 Summary
The Files page acts as your central hub for content sharing and knowledge distribution:
Upload and rename files easily.
Organize files using folders.
Share important documents with specific groups.
Empower learners with searchable, on-demand access to training materials.
💬 Need Help?
If you have questions or want to explore advanced use cases, contact us at [email protected].
We're here to help!
More in Files
Files
📣 Introducing ConveYour Files!
The Files page is a one stop shop for storing, sharing, and searching PDFs and images. And if you subscribe to Portal AI, you can put a company expert in the pocket of your reps or learners!
Files
📂 Files: Best Practices
These are the Best Practices for using the Files Page!