How to Automate DocuSign With ConveYour & Zapier
Did you know that you can send DocuSign documents to your learners in a ConveYour Campaign? Our integration with Zapier makes it possible to automate the entire process of signing and onboarding your new reps. This will take a burden off of your trainers while guiding your new recruits through a seamless onboarding experience.
Connect Your Account
In order to send your learners’ information directly to DocuSign, you first need to:
Get a Zapier account (zapier.com)
Set up the Zapier integration in ConveYour (Our guide is available here)
NOTE: For those who are new to Zapier and need some extra help getting set up, we’ve included a link to their documentation at the bottom of this blog.
Now, assuming you have a Zapier account set up…
How It’s Done
1. In ConveYour, create a New Campaign.
 2. Under Content, add a new Webhook.
 3. In Zapier, set up a “Catch Hook in Webhooks by Zapier” trigger.
 4. Copy/paste the webhook URL from Zapier into the Webhook in your ConveYour campaign.
 5. In your Zapier automation, select the DocuSign App and the “Create Signature Request” action. Connect your DocuSign account.
 6. Connect the document to be signed under “Templateid.”
 7. Line up the Zapier fields with the information from your ConveYour account (name, email, address, etc).
NOTE: We recommend using Zapier’s “Test Action” function to make sure that learner information is connected properly.
8. When learners sign, they will get an Agreement ID.
With the DocuSign completed, all you have left to do is update the learner information in their ConveYour profile.
Updating in ConveYour
Zapier needs to send information back to ConveYour, filling out the learner’s Agreement ID and Agreement Signed Date fields. This is done with a second Zapier automation.
 1. Create a new Zapier automation and a new trigger.
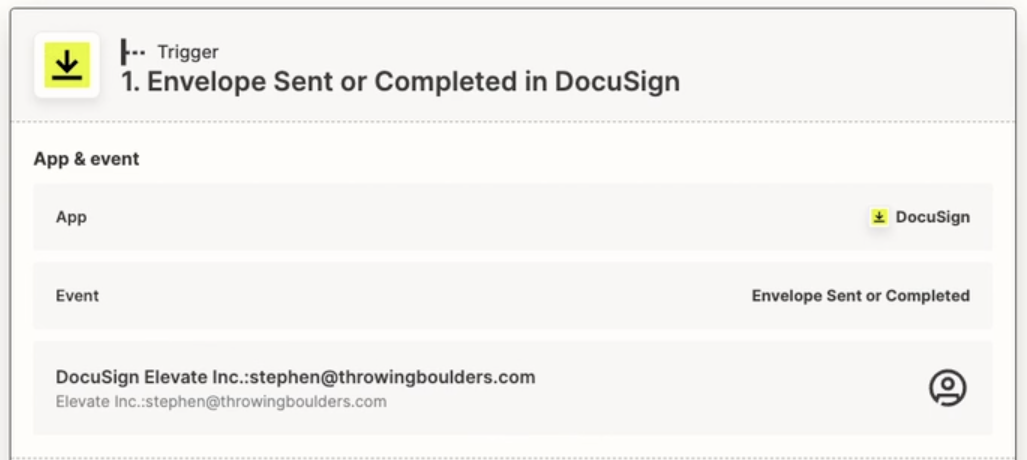
2. Set the app to “DocuSign” and the event to “Envelope Sent or Completed."
 3. Create a new action and set the app to ConveYour.
 4. Set the identify key to the learner’s email address.
 5. Create two identify traits (fields): one for the Agreement ID and one for the Agreement Signed Date.
NOTE: We recommend adding a third field to update the learner’s name. That way, if you use this automation with new users, they will have a ConveYour profile set up.
In Conclusion
 With this automation set up, you can harness the full power of ConveYour’s automations in tandem with Zapier. Within ConveYour, you could send SMS reminder to learners who haven’t filled out their DocuSign, release onboarding courses to learners as soon as the get an Agreement ID, segment learners into groups based on signing date or ID number, and much more!

